Software
After setting up the hardware and the layout of the lab, it's time to start filling it up with software, giving the lab some functionality. A few areas which you might want inside the lab are:
Daemons/Services
DHCP
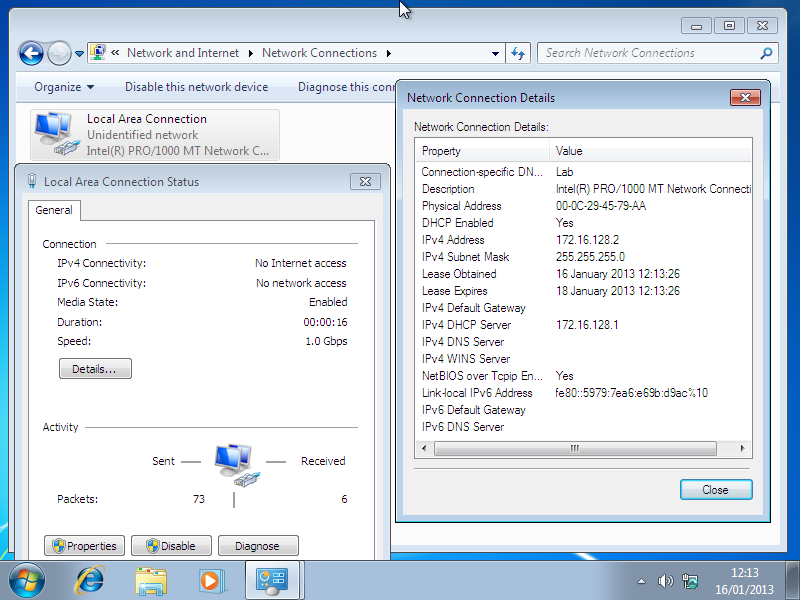
A Dynamic Host Configuration Protocol (DHCP) server automatically assigns IP addresses to nodes.
A brief break down of how DHCP works:
- When a node first connects to a network the DHCP client on the node (if it has one installed), sends out a "broadcast" message (DHCPDISCOVER).
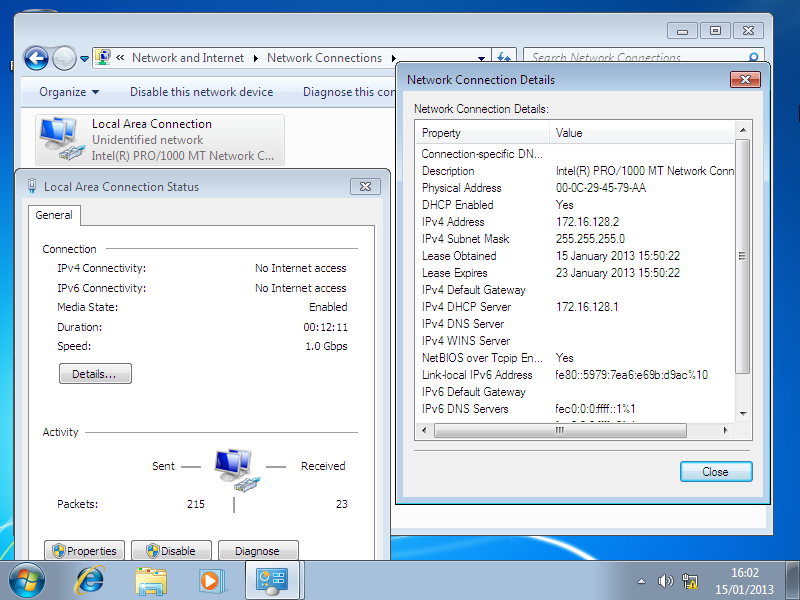
- If there is a response (DHCPOFFER), both parties will then start to negotiate (DHCPREQUEST & DHCPACK) an IP address from the 'pool' (a range of IP addresses allowed to be used). The DHCP server replies to DHCP client (DHCPACK) with various pieces of information such as an IP address, gateway, DNS and any other server(s) (e.g. name and/or time).
- It will also establish & send a 'lease' on the IP address used. This is how long the IP address, just issued, is 'valid' for.
- Depending on how the DHCP server is configured it will issue the IP address in a different way, such as:
- Dynamic Allocation - Sends the first 'free' (an un-used/non-leased) IP address from the pool. This 'recycles' IP addresses when they are no-longer used.
- Automatic Allocation - The same as 'Dynamic Allocation', however the DHCP server keeps track of the IP address to which client it was issued to, allowing them to be permanently/preferentially re-assigned the previous IP address again.
- Static Allocation - An IP address 'paired' (matched up) with a MAC address. If the client's MAC address isn't on this list, then an IP address isn't issued. However, if it is, the client will have the matching IP address for their MAC address.
DHCP clients have to 'renew' their lease before it expires, allowing them to keep their existing values.
However, they can also 'release' the DHCP lease, informing the DHCP server it's no longer in use.
Windows
If the chosen VM you wish to setup a DHCP server on is a part of "Microsoft Windows Server" family, you can use the integrated service. For the other Windows OSs you can use any 3rd party applications.
Windows Server 2000/2003
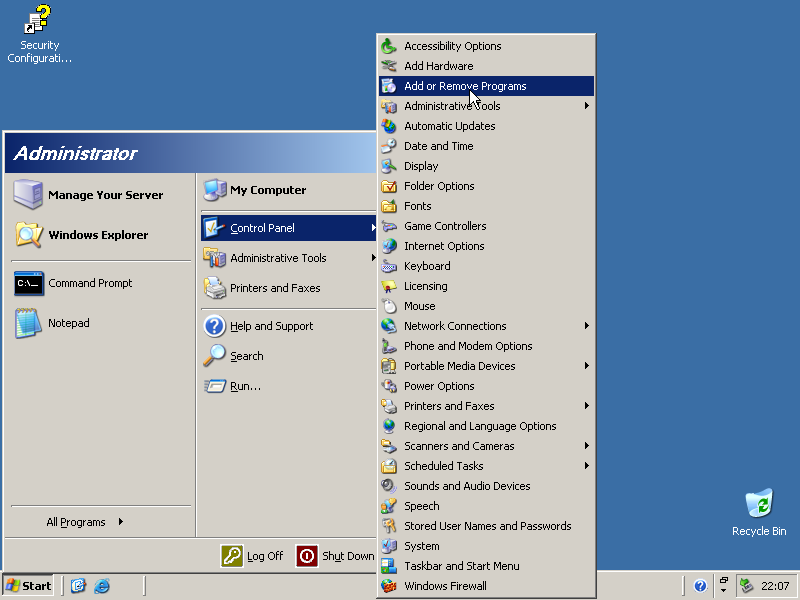
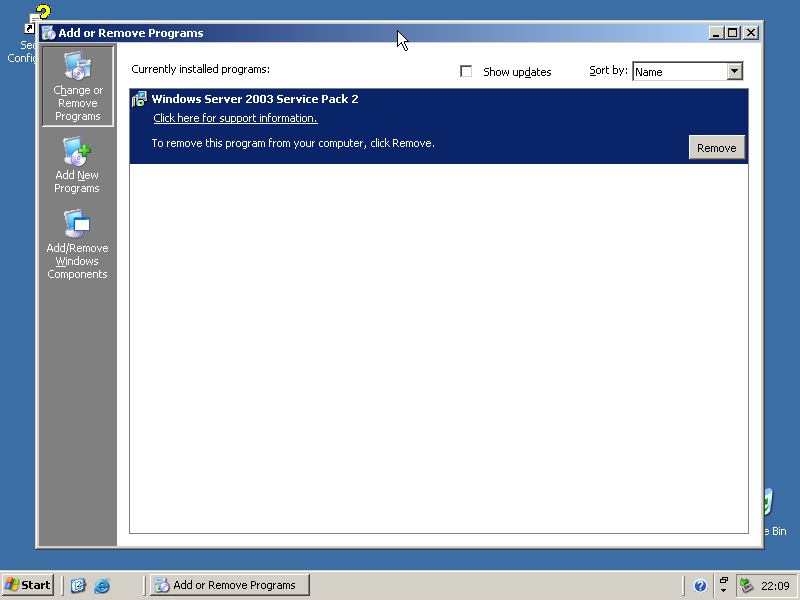
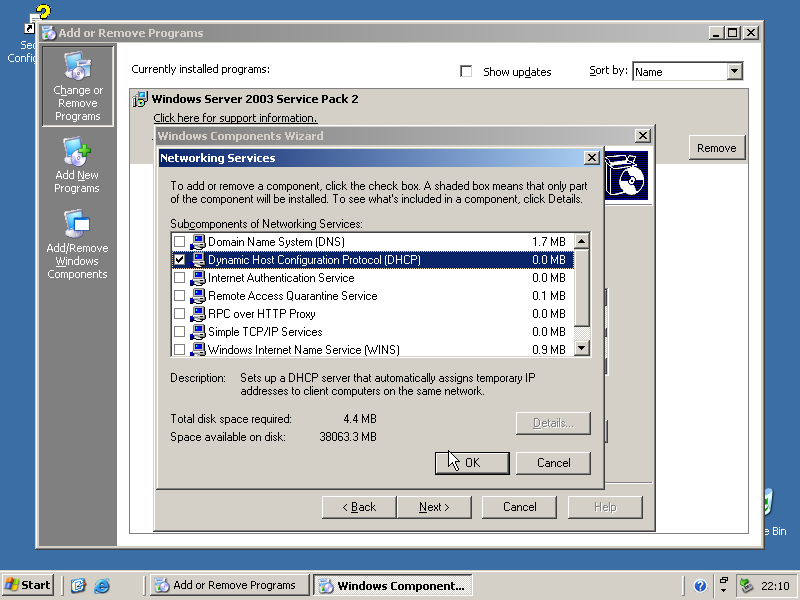
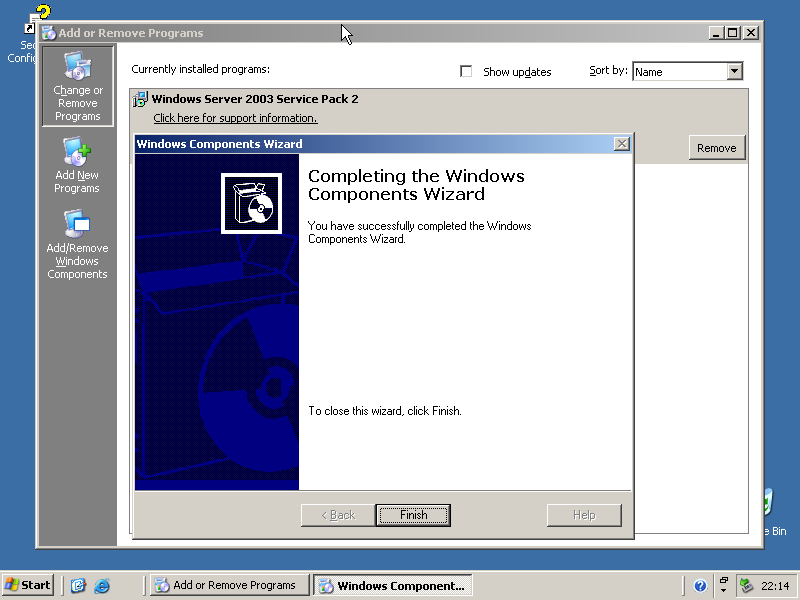
- Start --> Control Panel --> Add or Remove Programs
- Add/Remove Windows Components
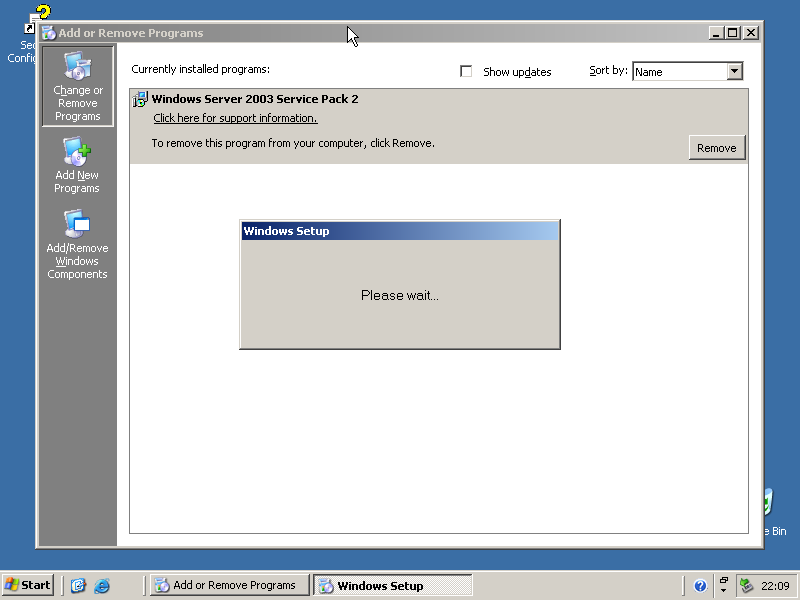
- Wait
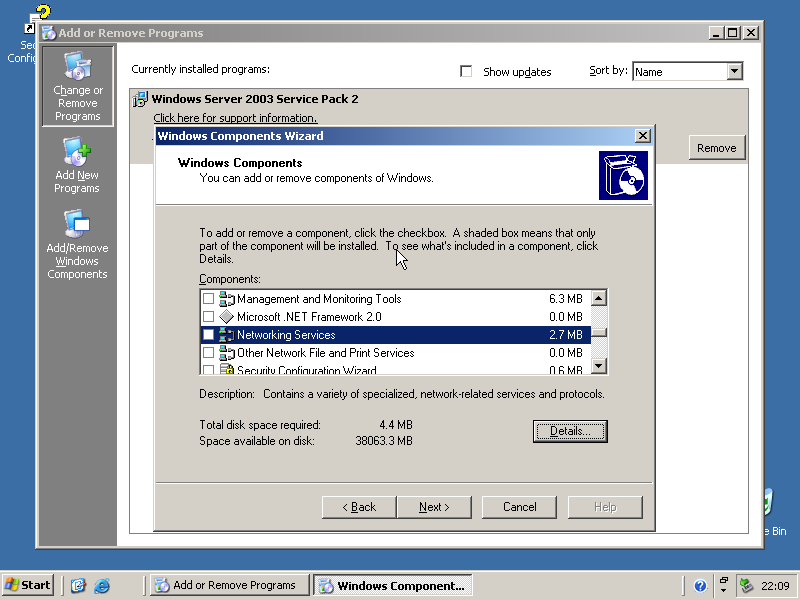
- Networking Services --> Details --> Tick: 'Dynamic Host Configuration Protocol (DHCP)' --> Okay --> Next
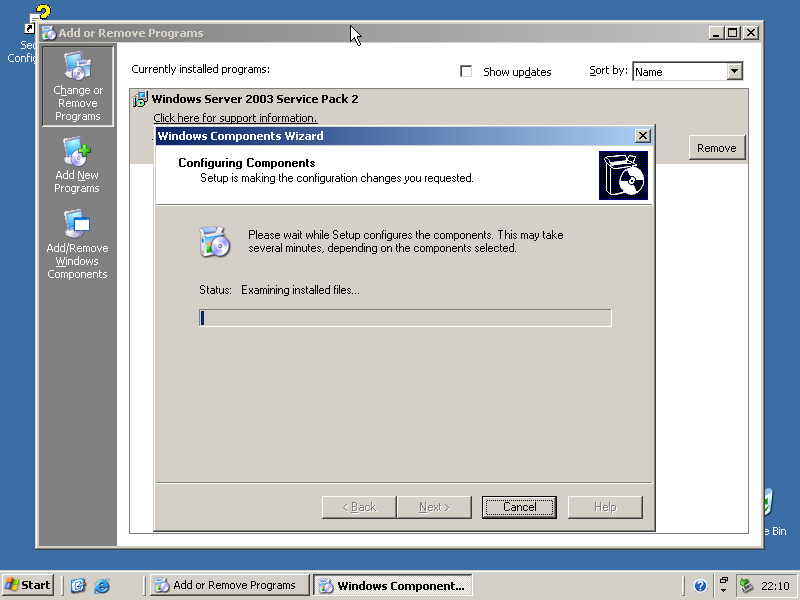
- Wait
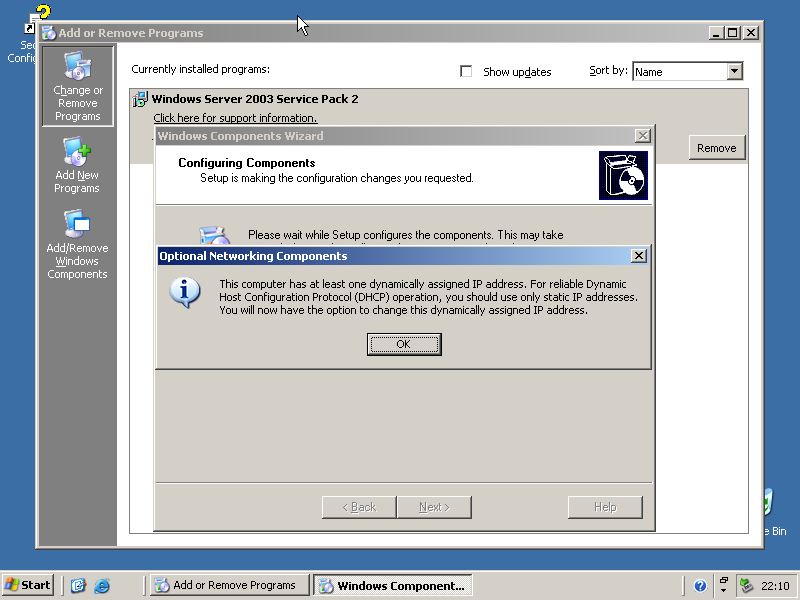
- This screen is due to all the network interfaces being set to use DHCP to be assigned an IP address.
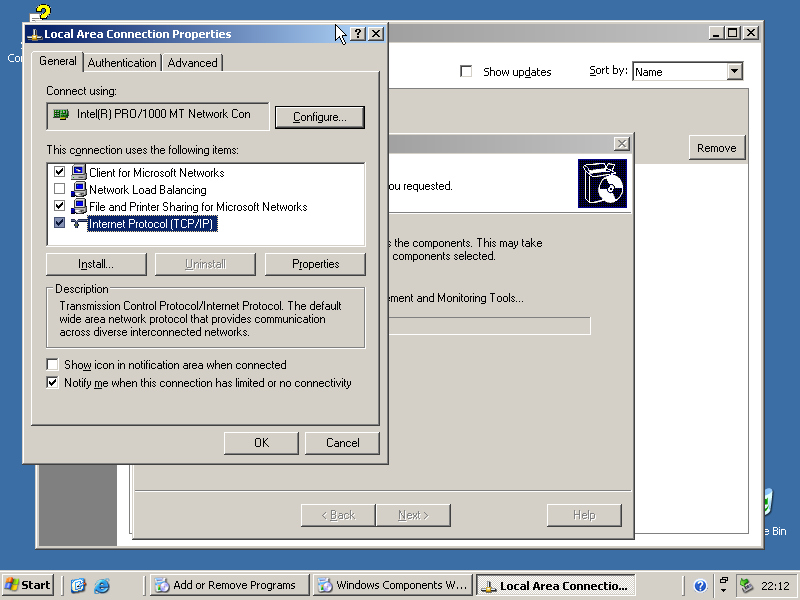
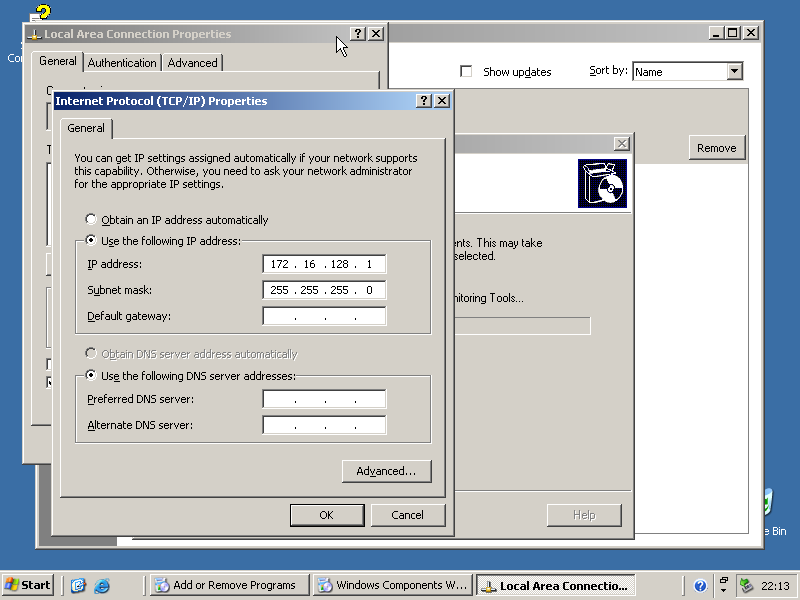
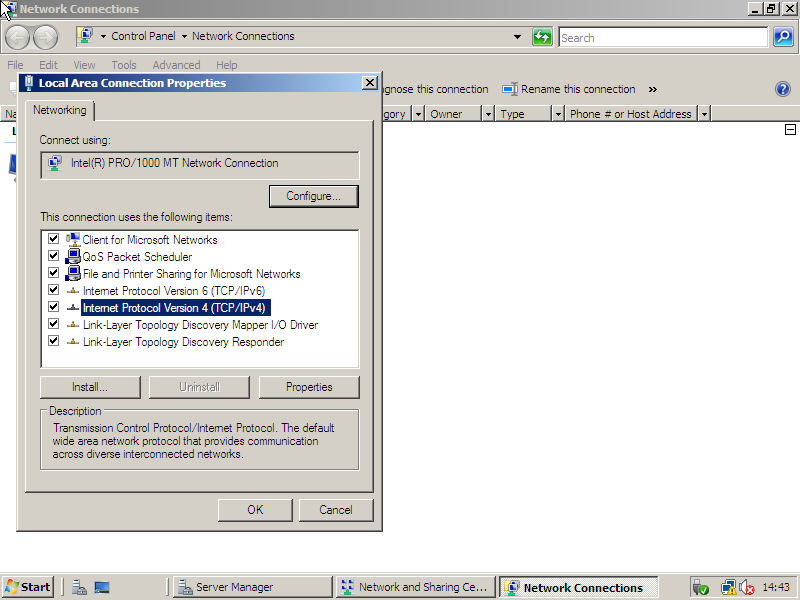
- Internet Protocol (TCP/IP) --> Properties
- Manually set the IP address & subnet (172.16.128.1/24) --> Ok
- Finish
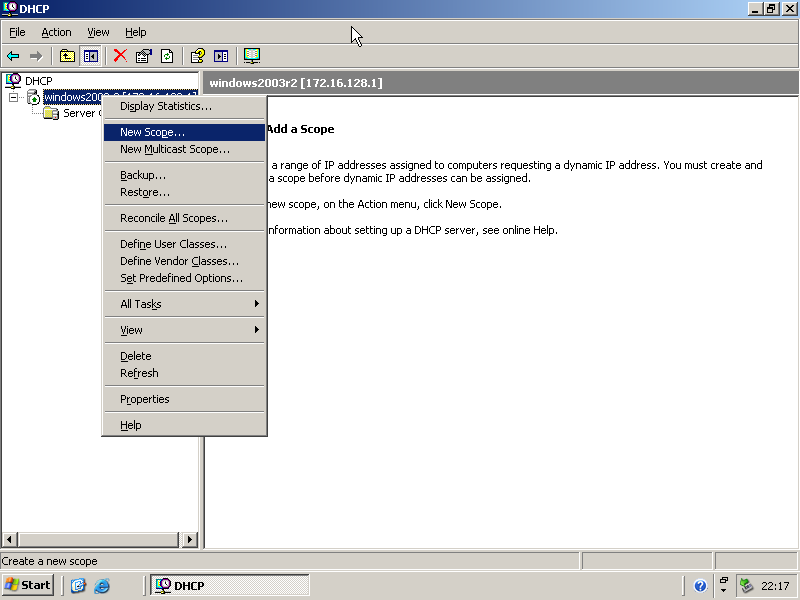
- Start --> All Programs --> Administrative Tools --> DHCP
- DHCP --> Right click: <hostname> --> New Scope
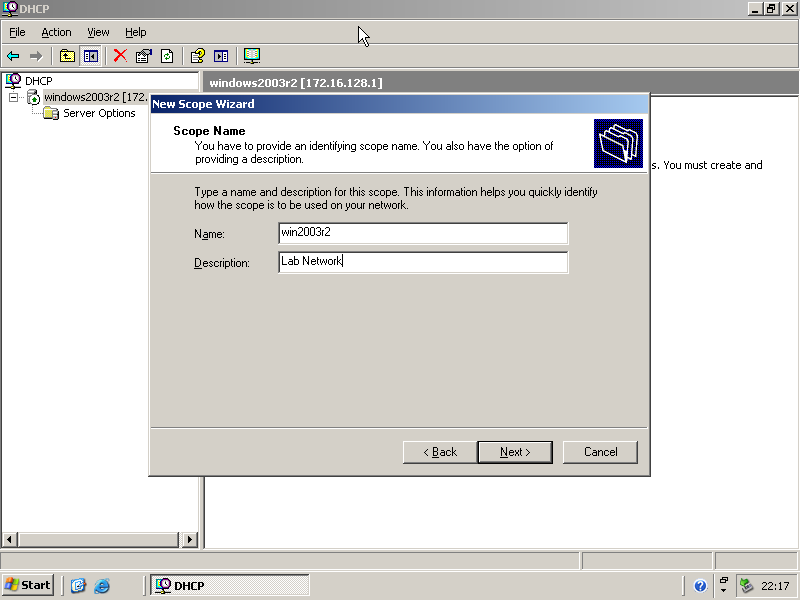
- Next --> Name & Description --> Next
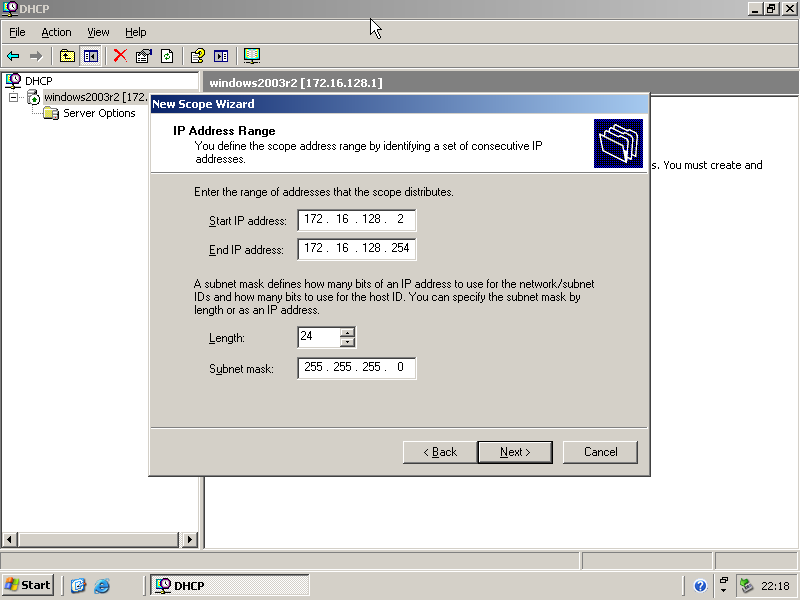
- Start & End IP Address, Length/Subnet mask --> Next
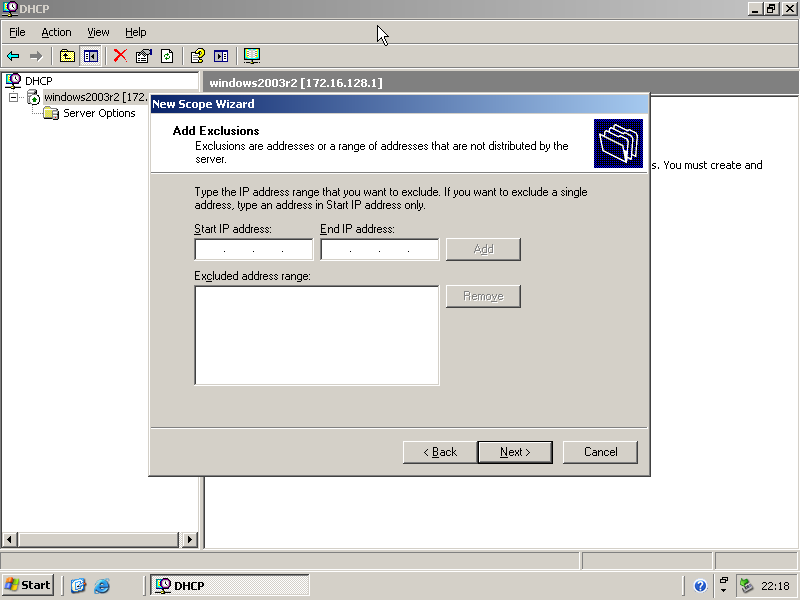
- Any IP Exclusions --> Next
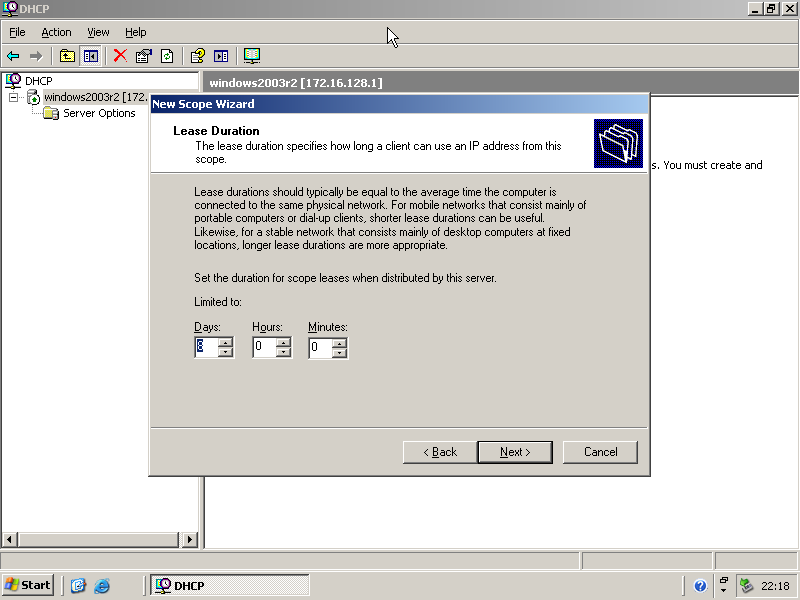
- DHCP Lease duration --> Next
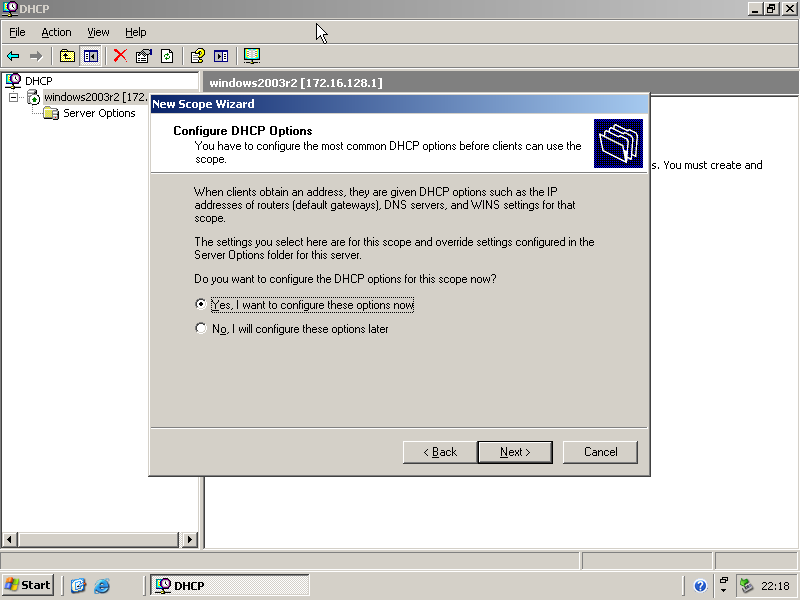
- Select 'Yes, I want to configure these options now' --> Next
- Router --> Next
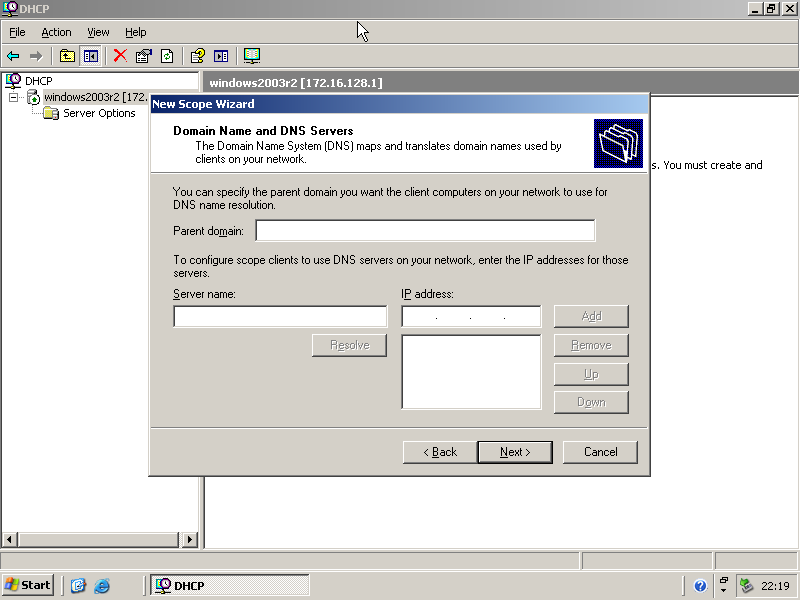
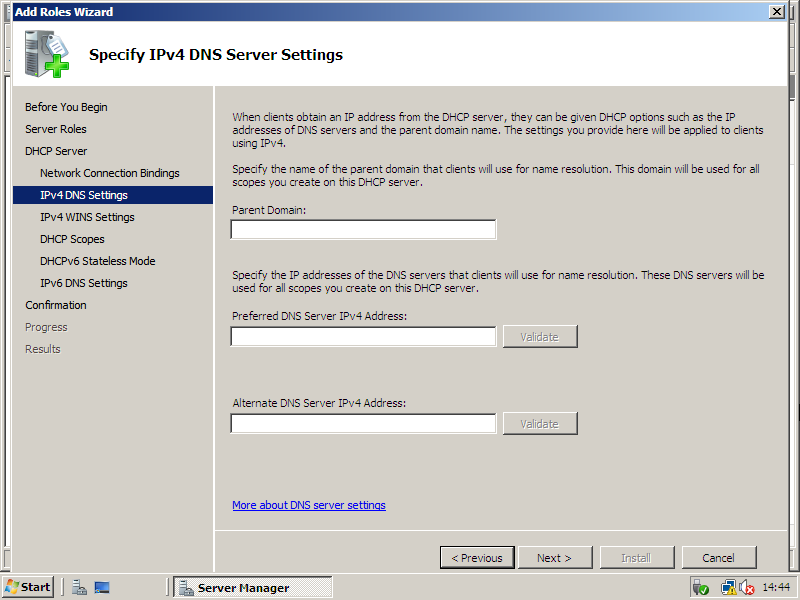
- Domain Name & DNS Server --> Next
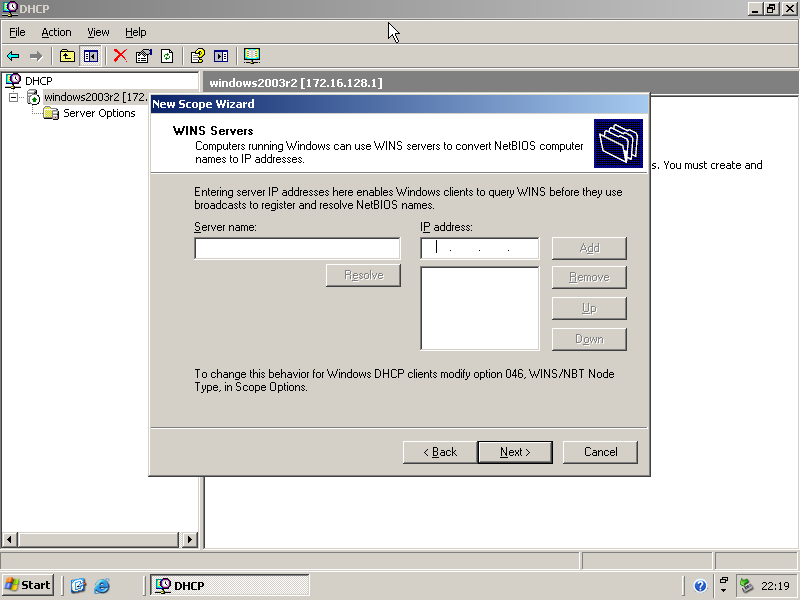
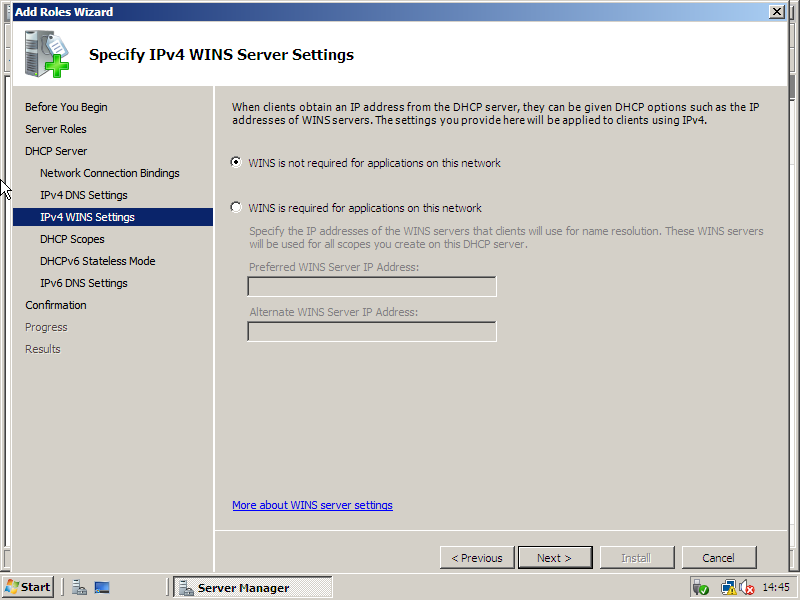
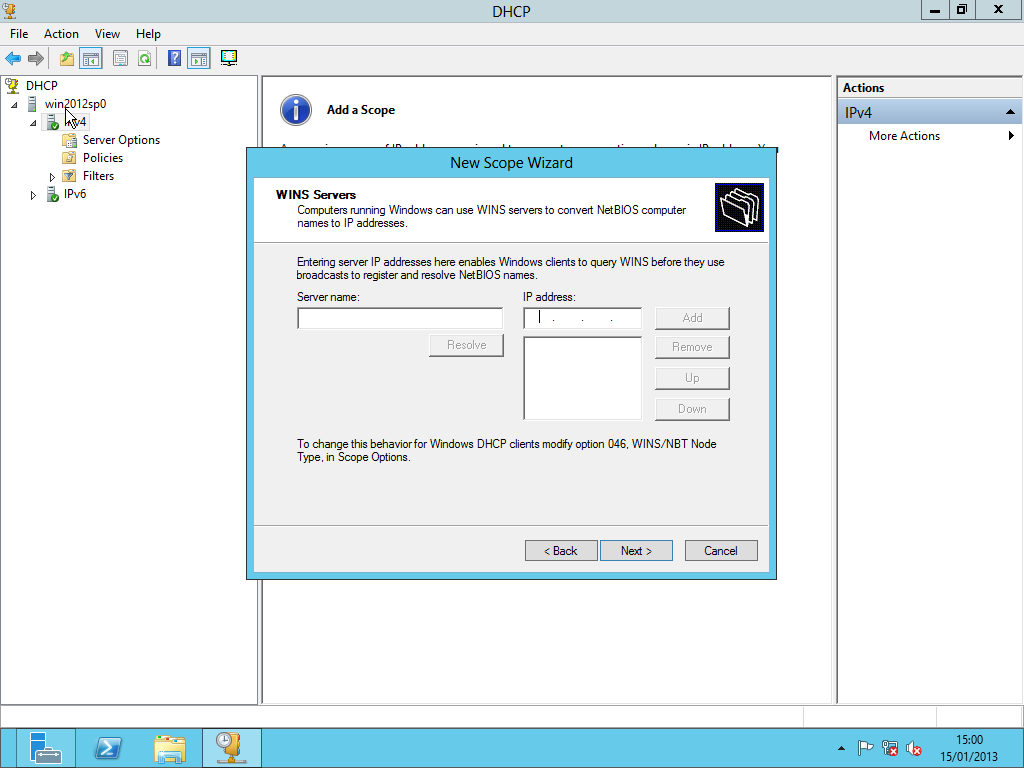
- WINS Server --> Next
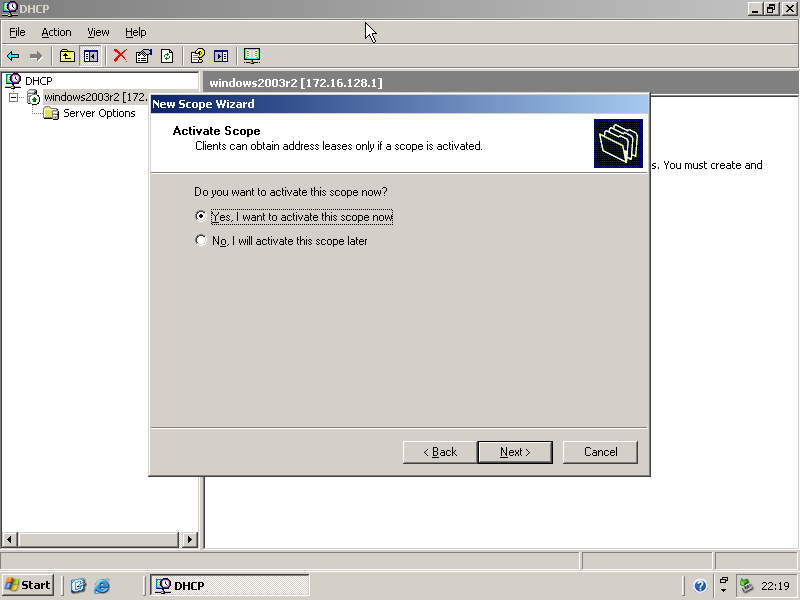
- Select: 'Yes, I want to active this scope now' --> Next
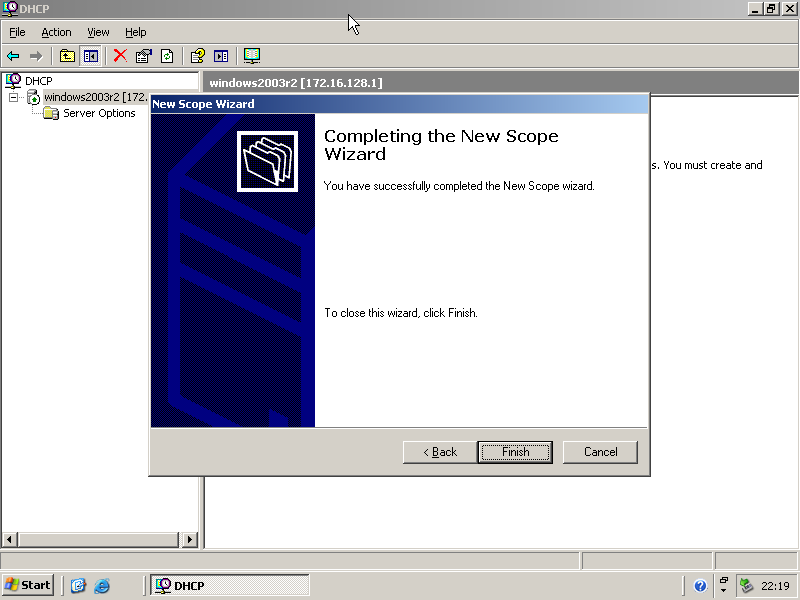
- Finish
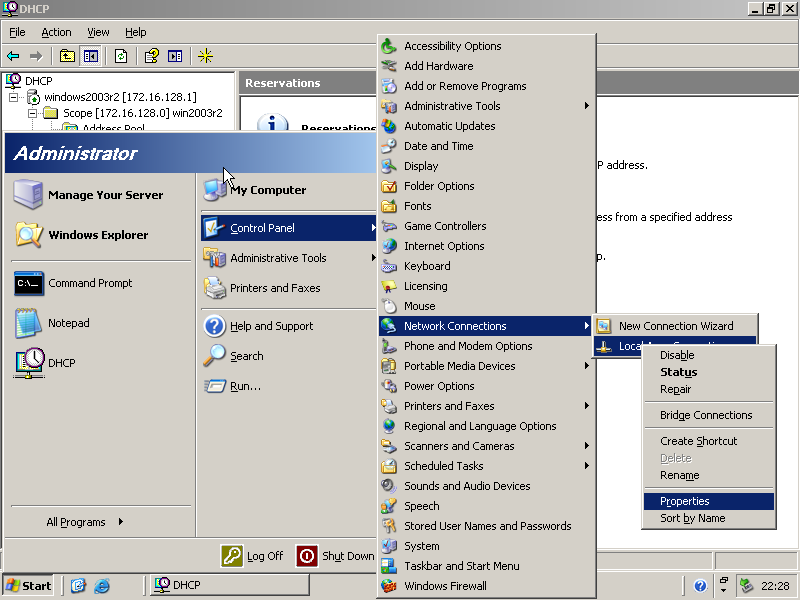
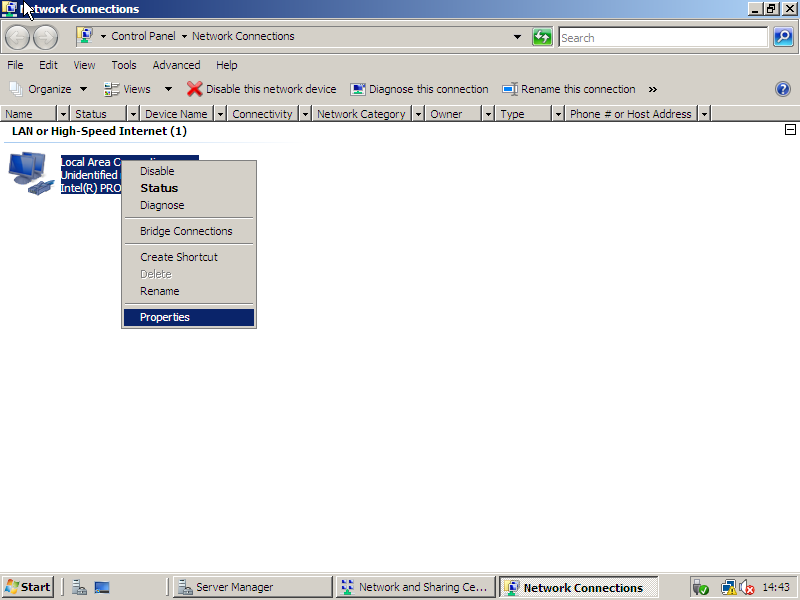
- Start --> Control Panel --> Network Connections --> <Interface> --> Right click: 'Properties'
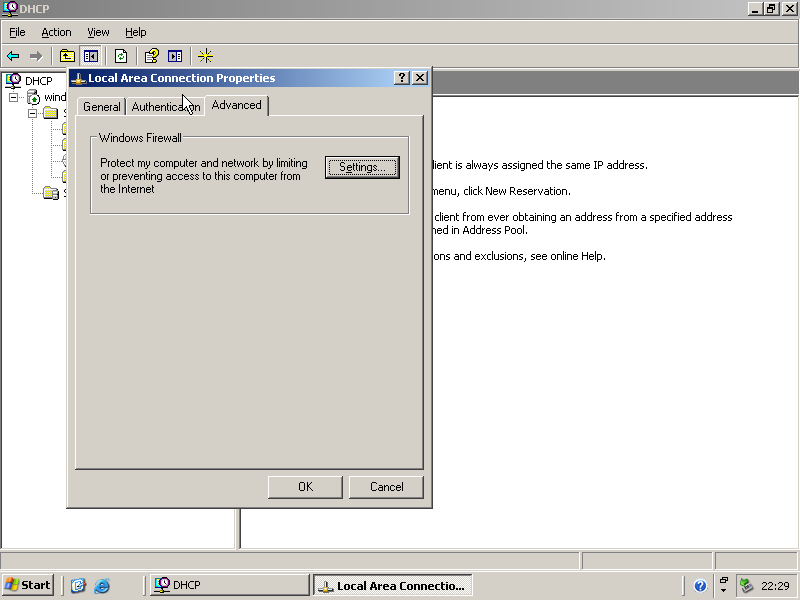
- Advanced --> Settings
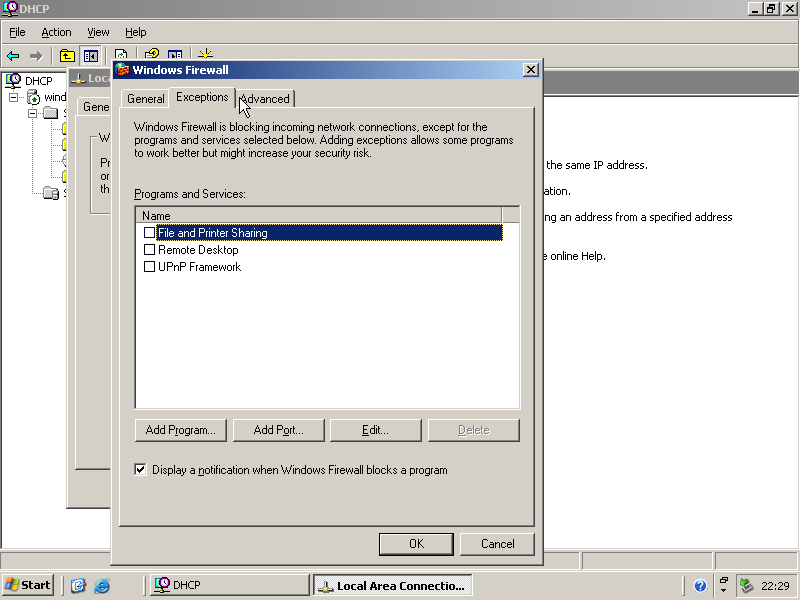
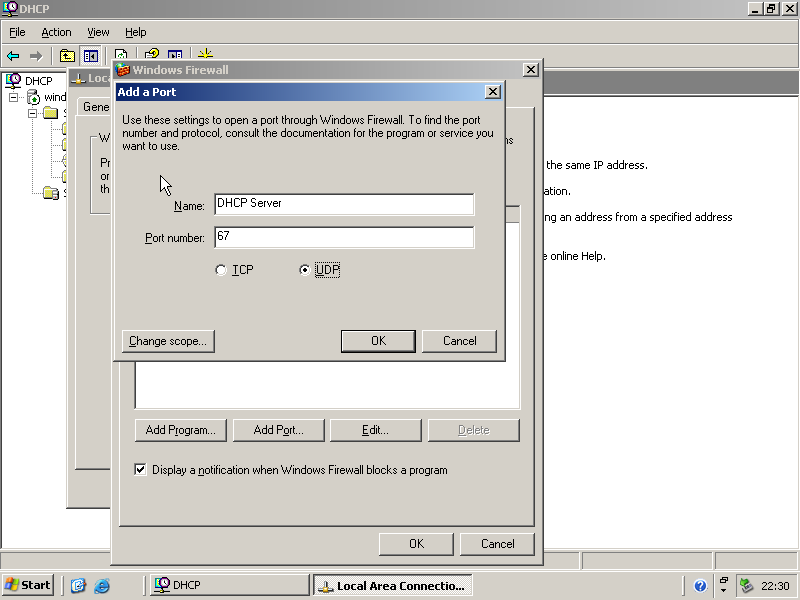
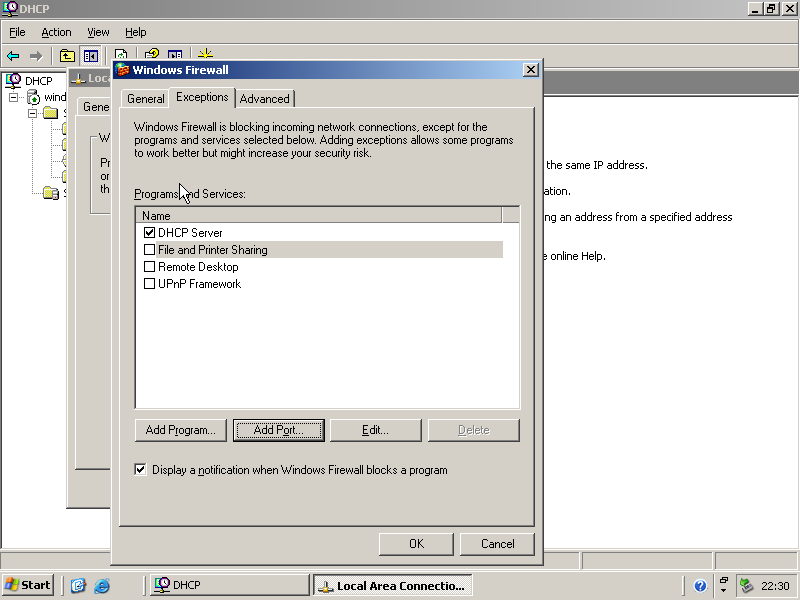
- Exceptions --> Add Port
- Port Number: 67 & UDP --> Ok --> Ok
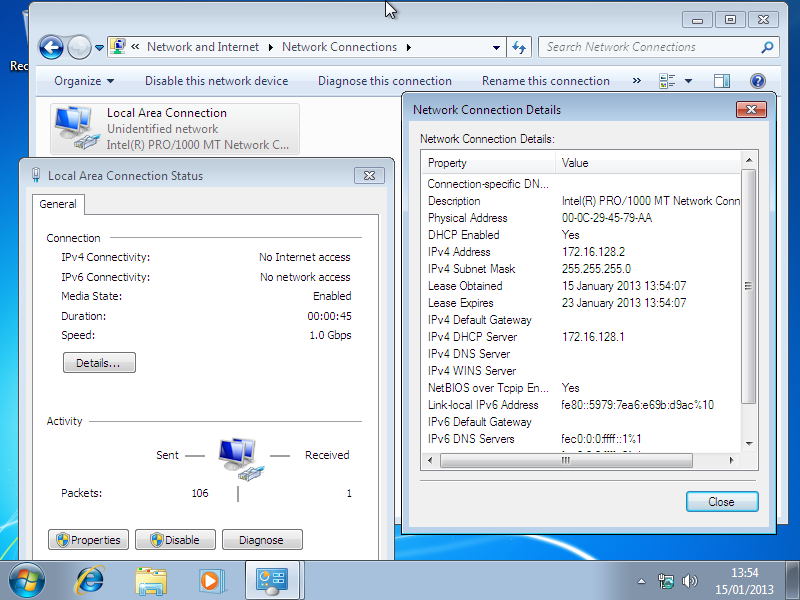
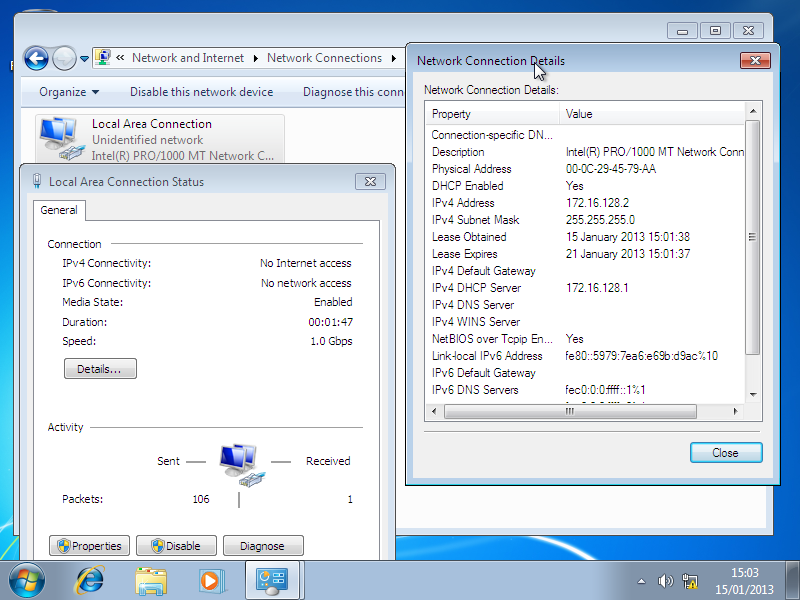
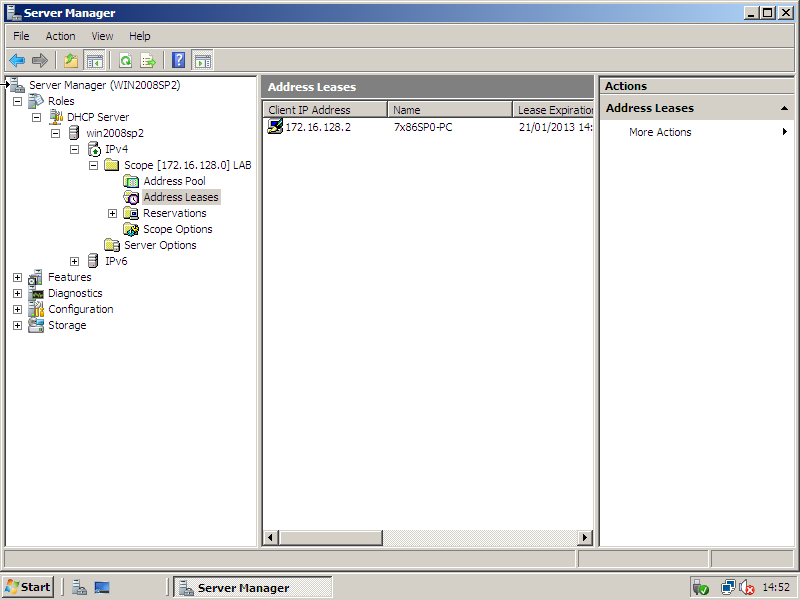
- Done! (Check by connecting another VM on the same virtual network)
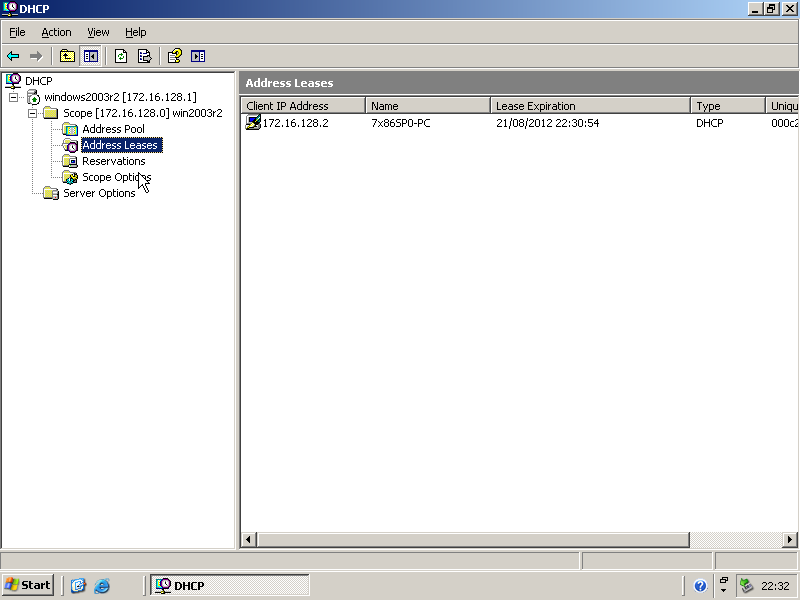
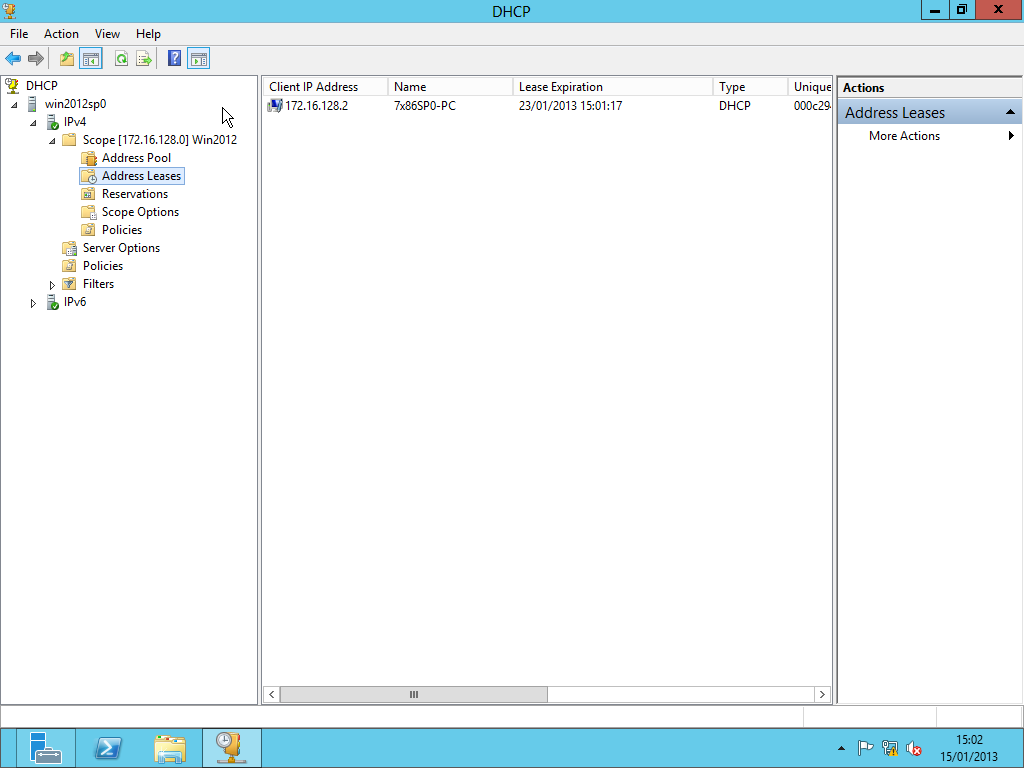
- You can see the leases & Alter any reservations on IPs
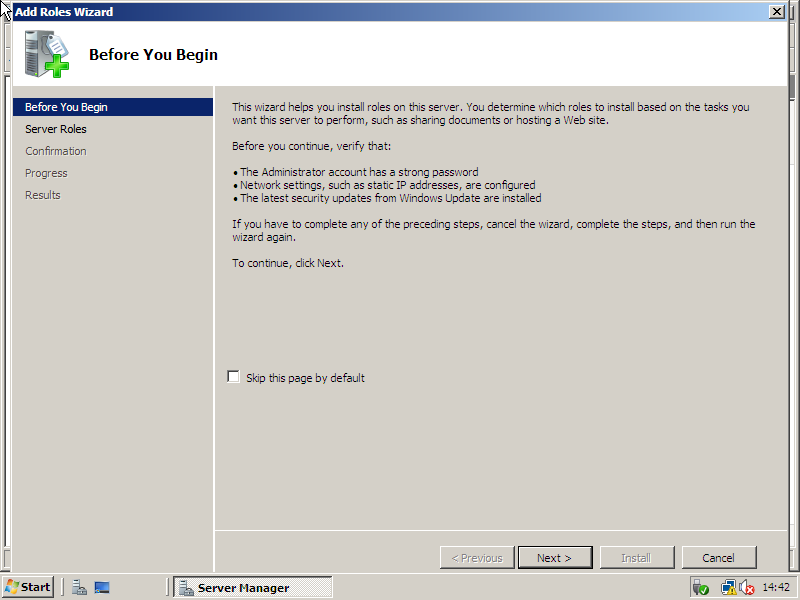
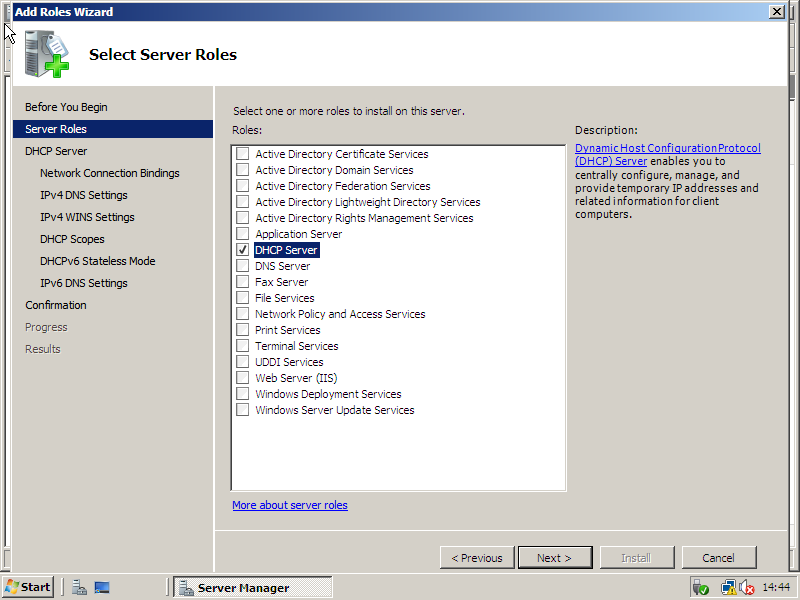
Windows Server 2008
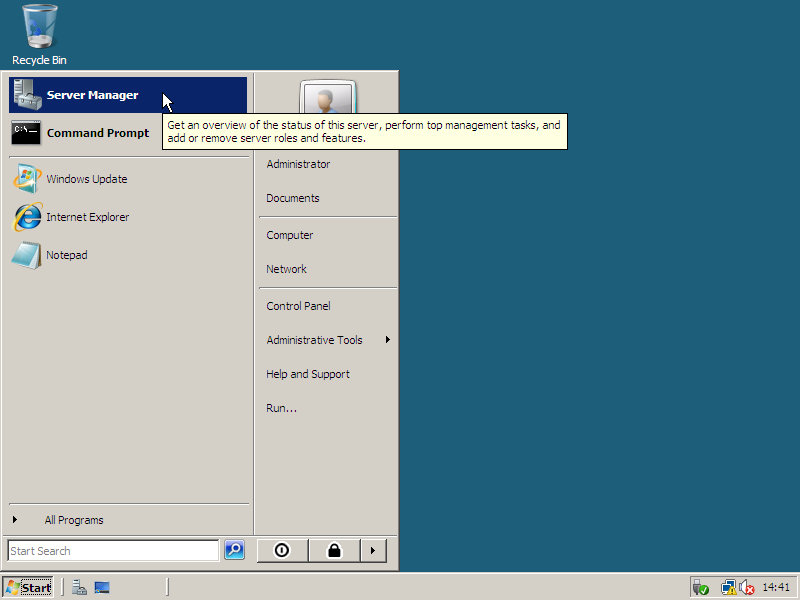
- Start --> Server Manager
- Add Roles
- Next
- This screen is due to all the network interfaces being set to use DHCP to be assigned an IP address. Cancel
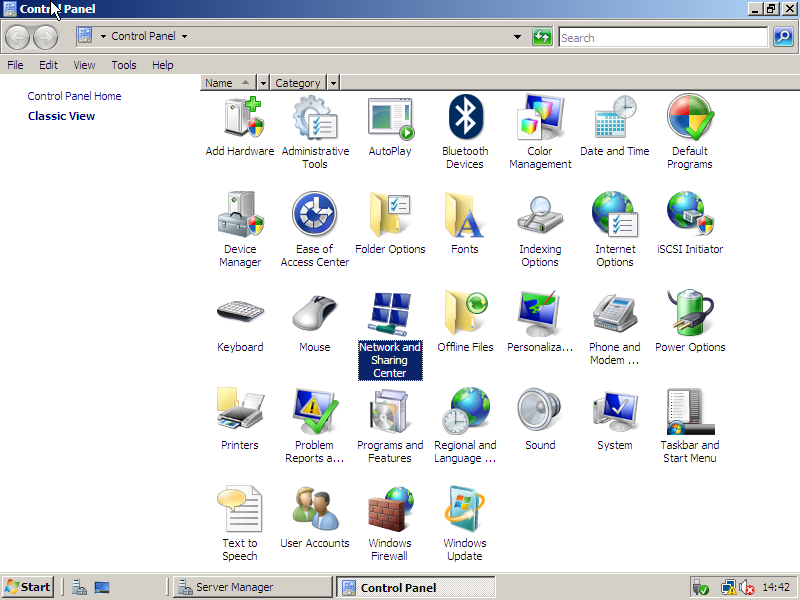
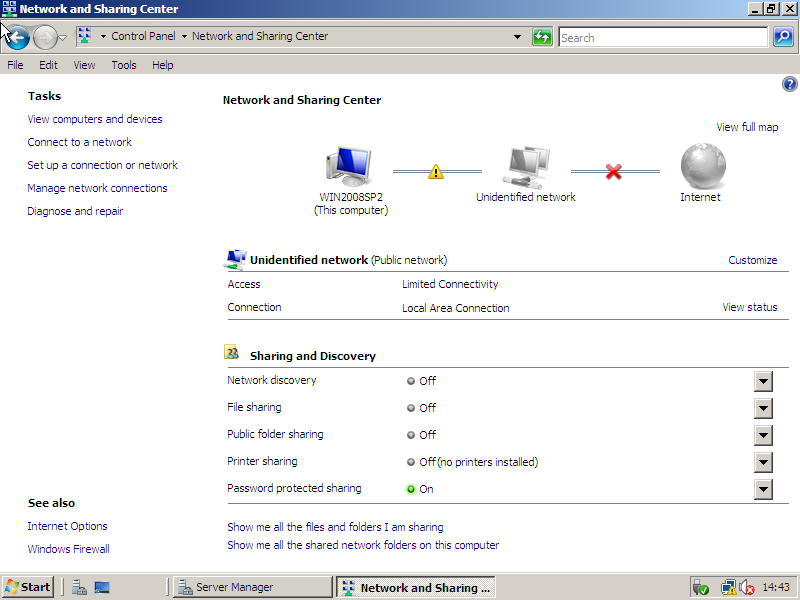
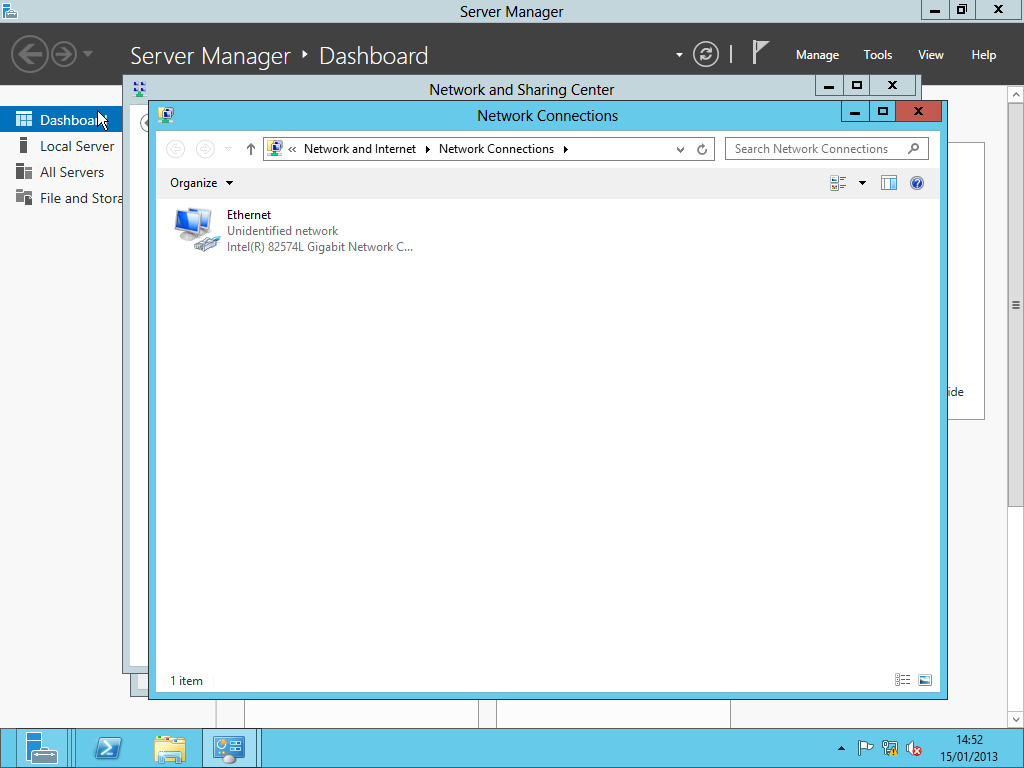
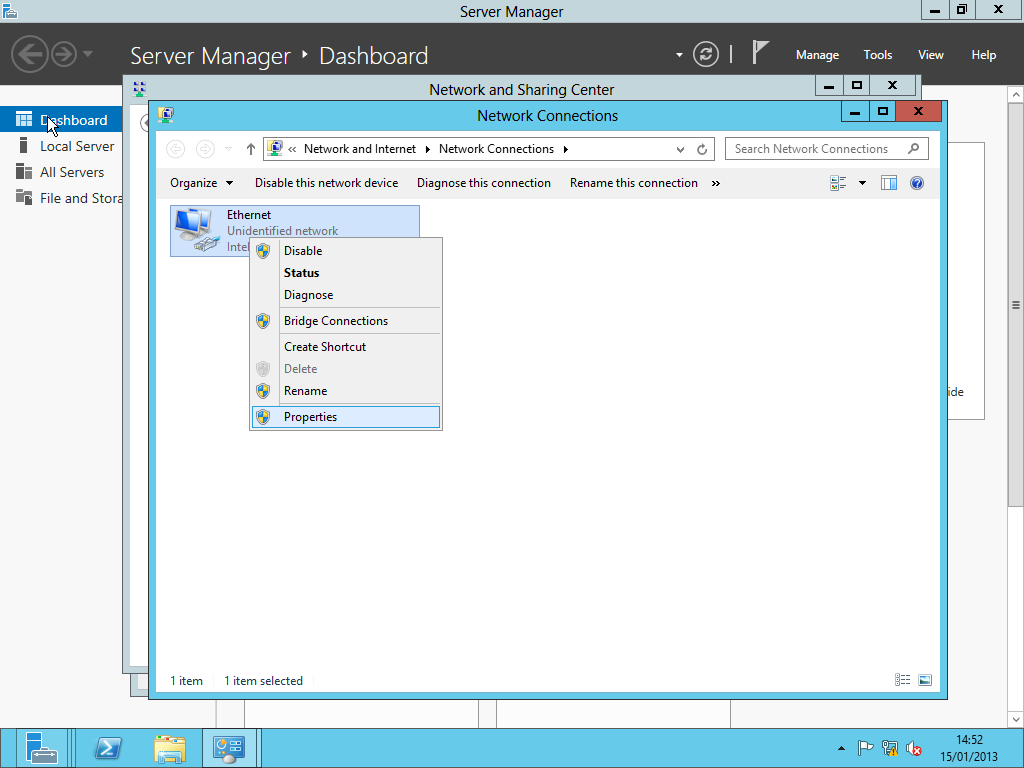
- Start --> Control Panel --> Network and Sharing Center --> Manage network connections
- <Interface> --> Right click: 'Properties'
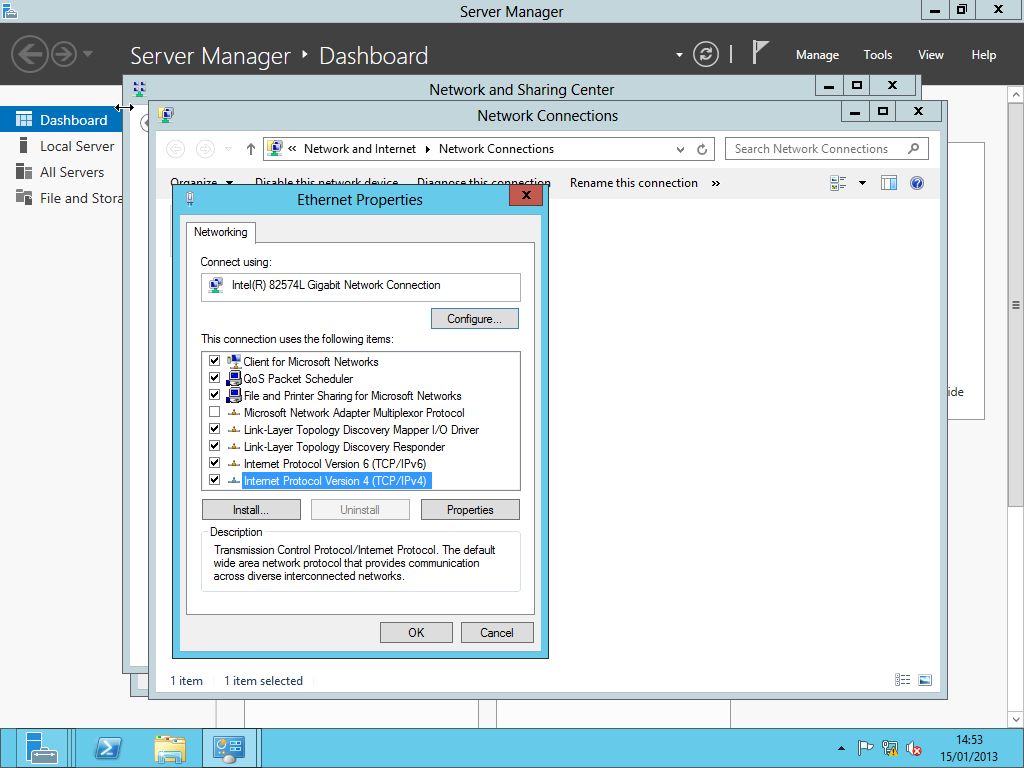
- Internet Protocol (TCP/IP) --> Properties
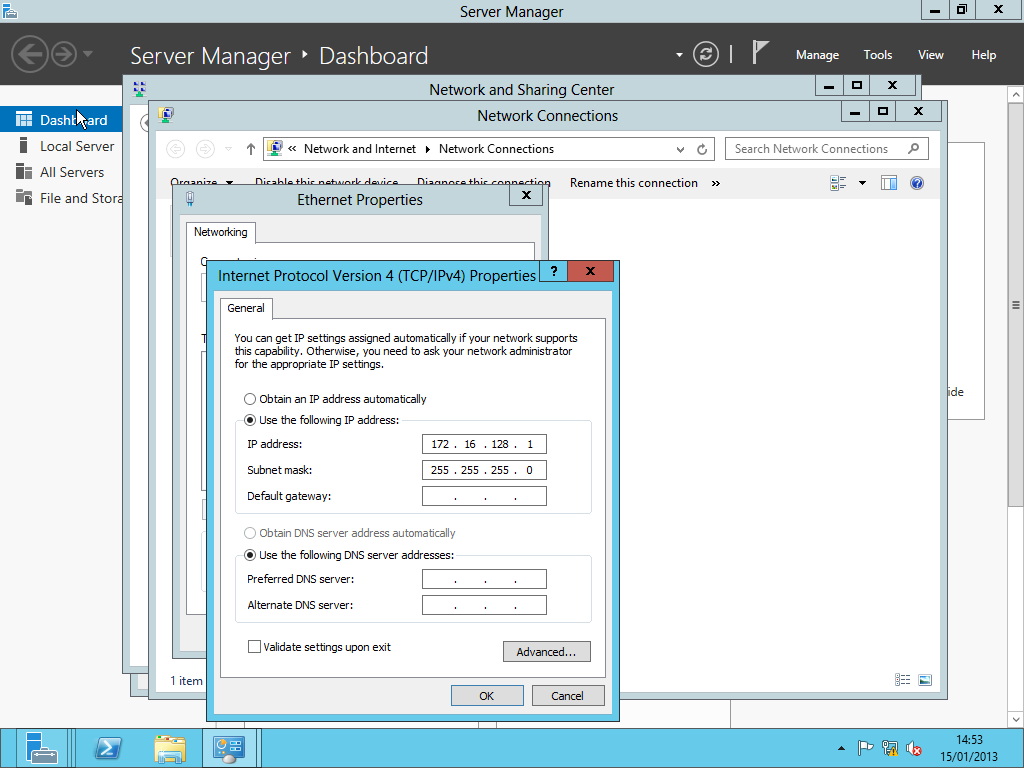
- Manually set the IP address & subnet (172.16.128.1/24) --> Ok --> Ok
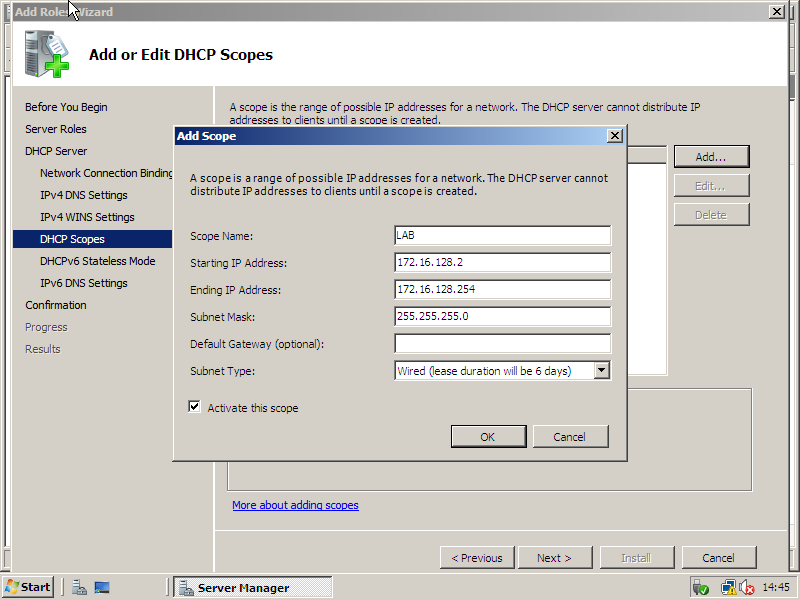
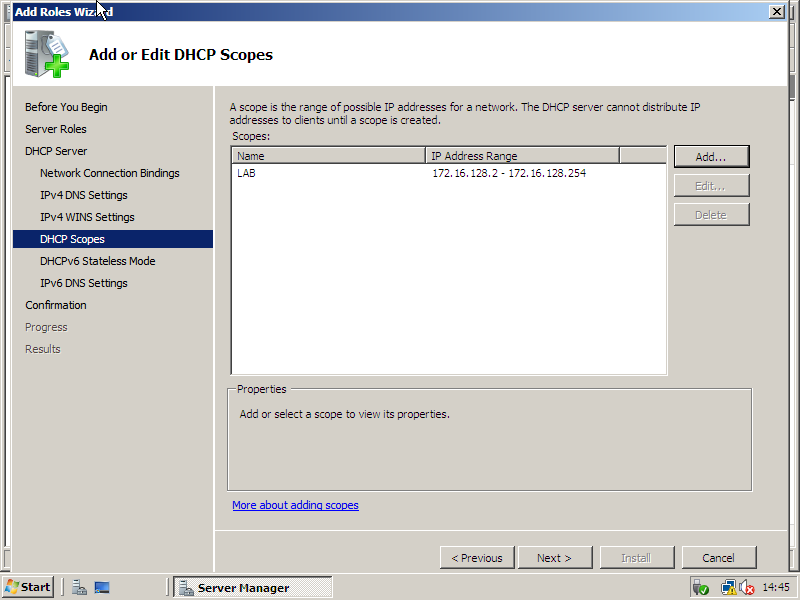
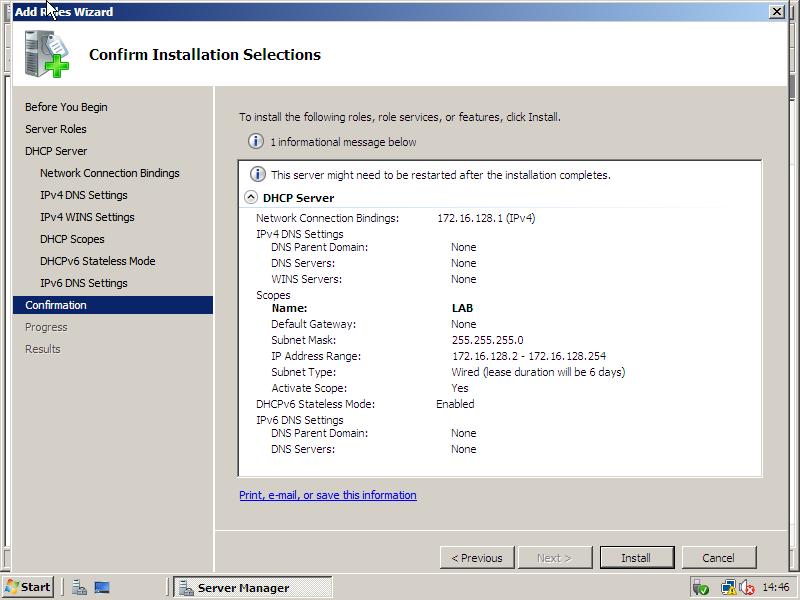
- Next --> <Interface> --> Next --> DNS --> Next --> Win --> Next --> Add --> Name, Start & End IP Address, Subnet, Gateway, Subnet Type. Tick: 'Activate this scope' --> Ok --> Next
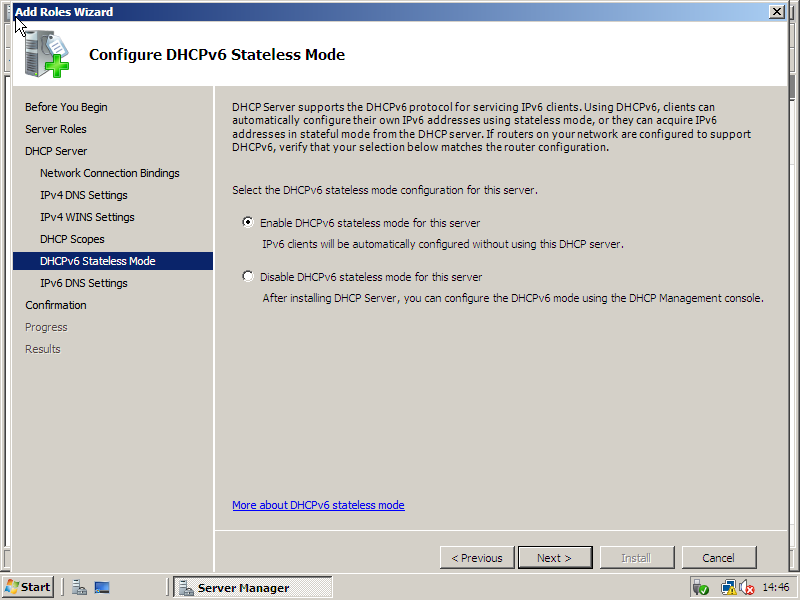
- 'Enable DHCPv6 stateless mode for this server' --> Next
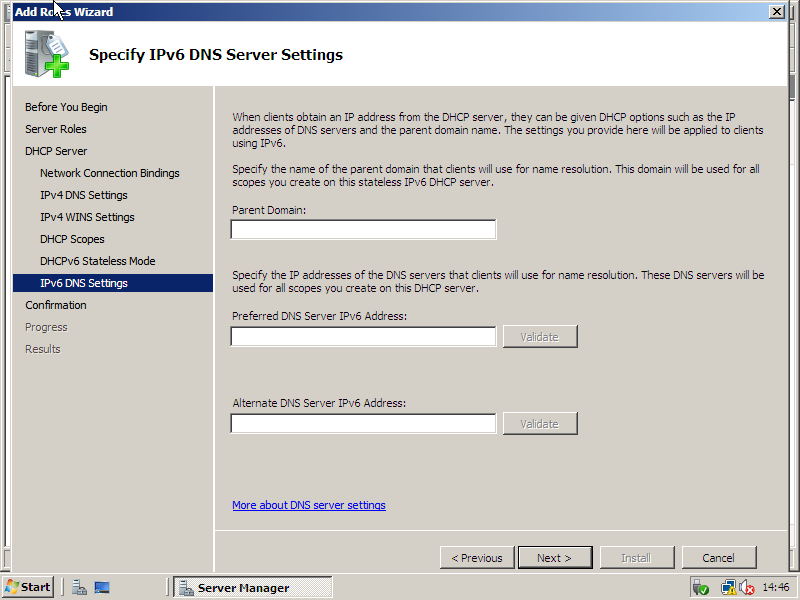
- DNSv6 --> Next
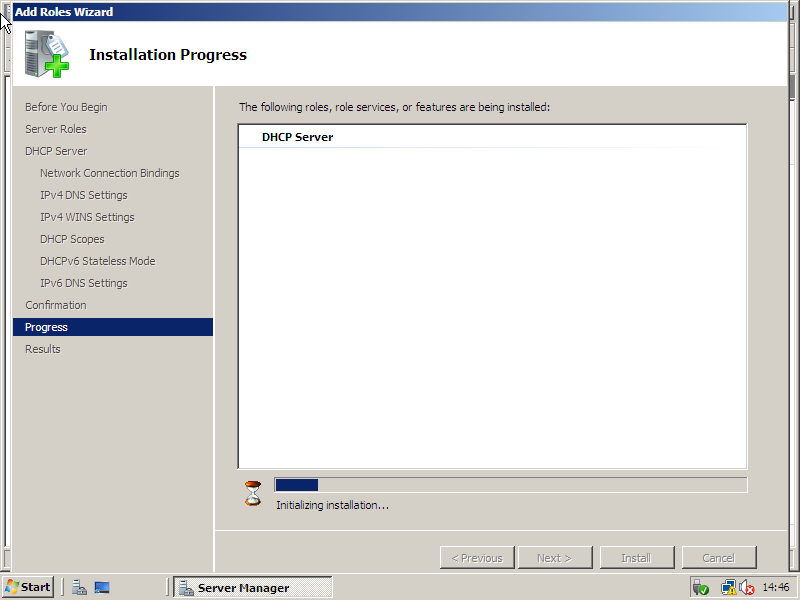
- Install
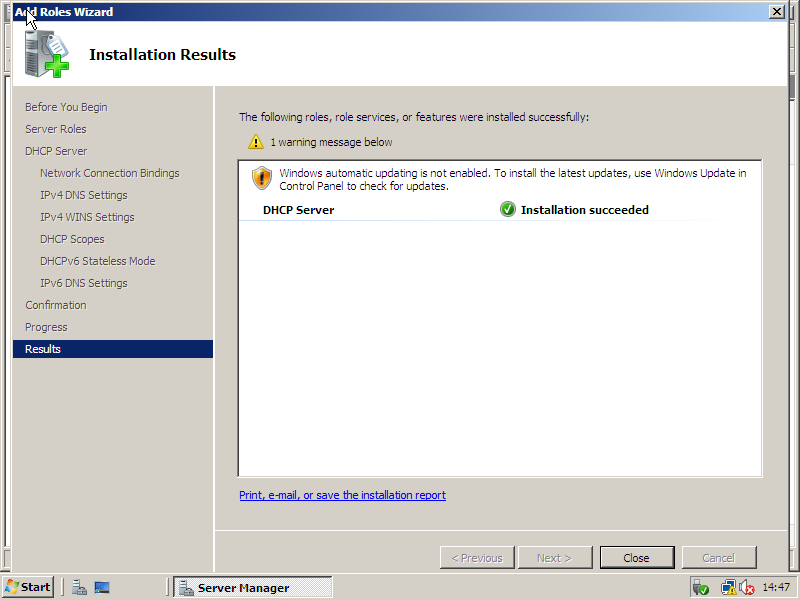
- Wait
- Close
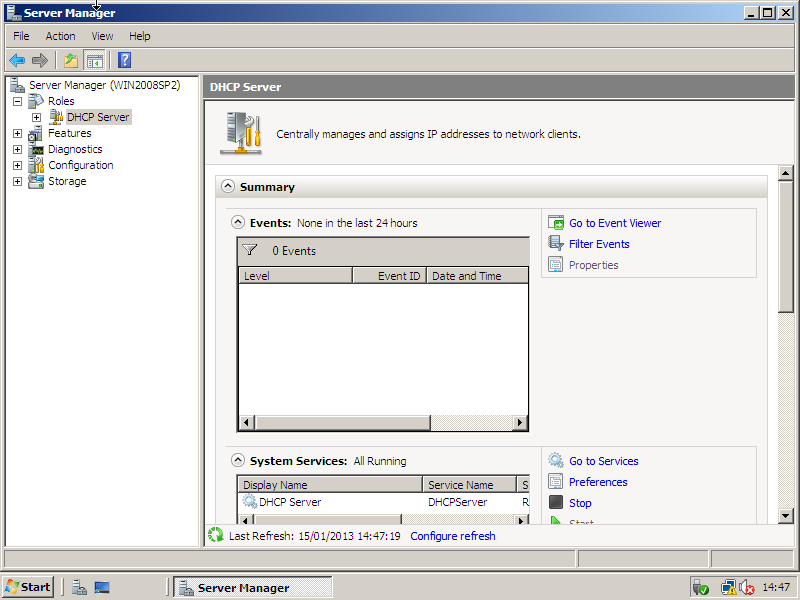
- Done! (Check by connecting another VM on the same virtual network)
- You can see the leases & Alter any reservations on IPs You can see the leases & Alter any reservations on IPs
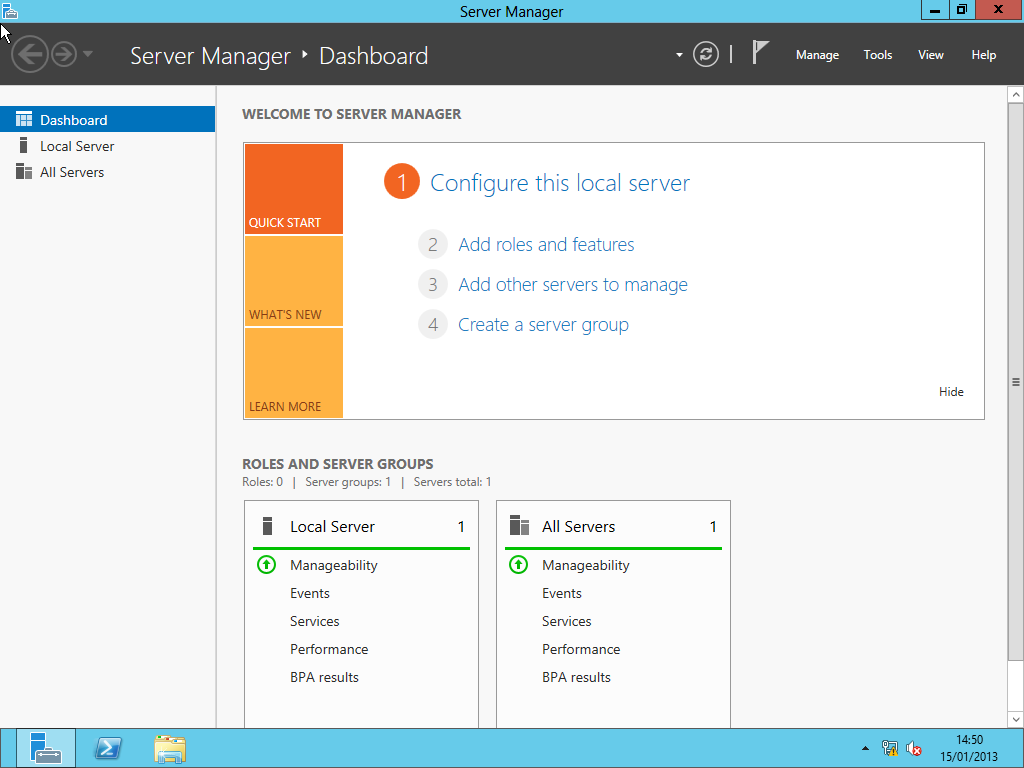
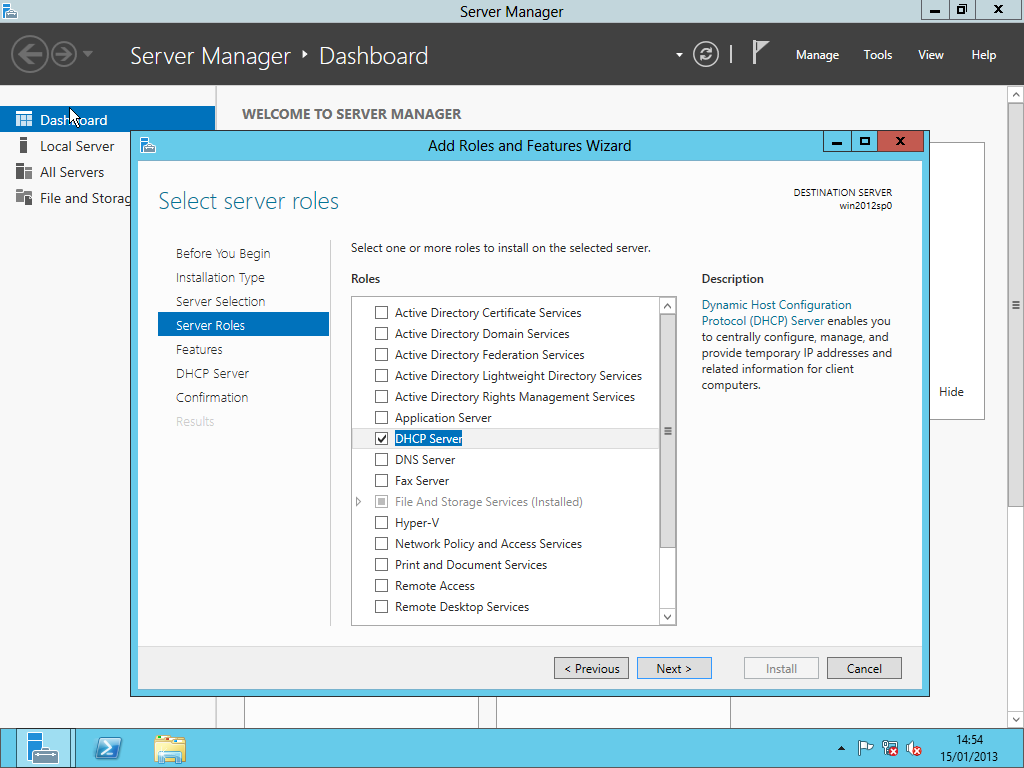
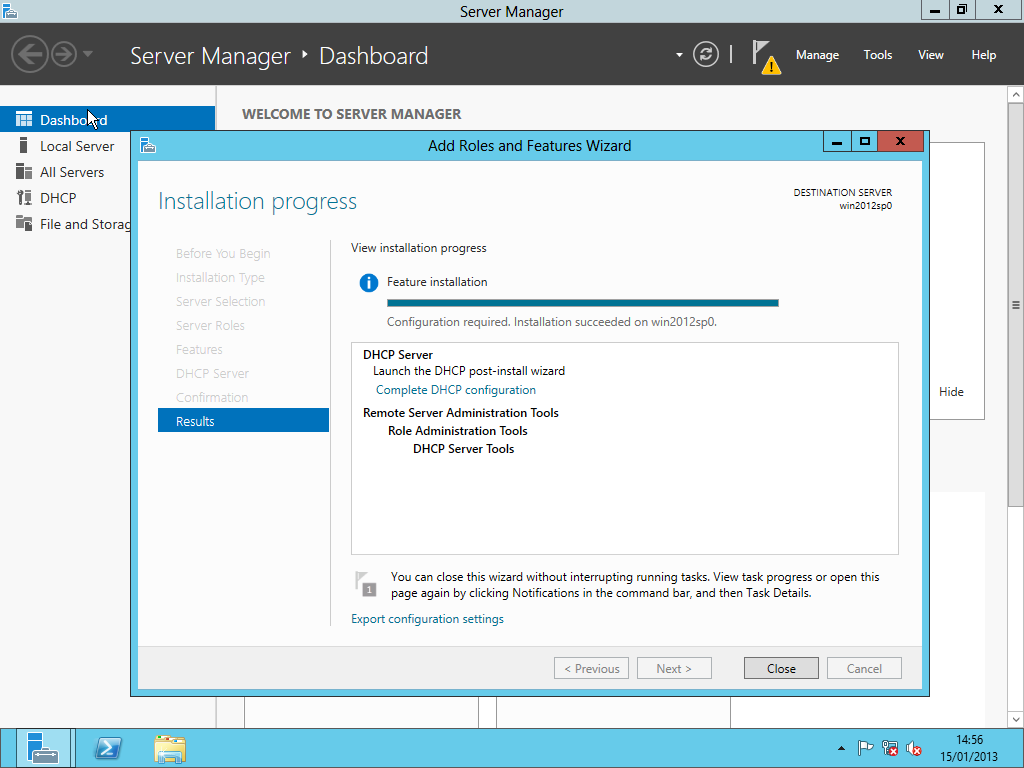
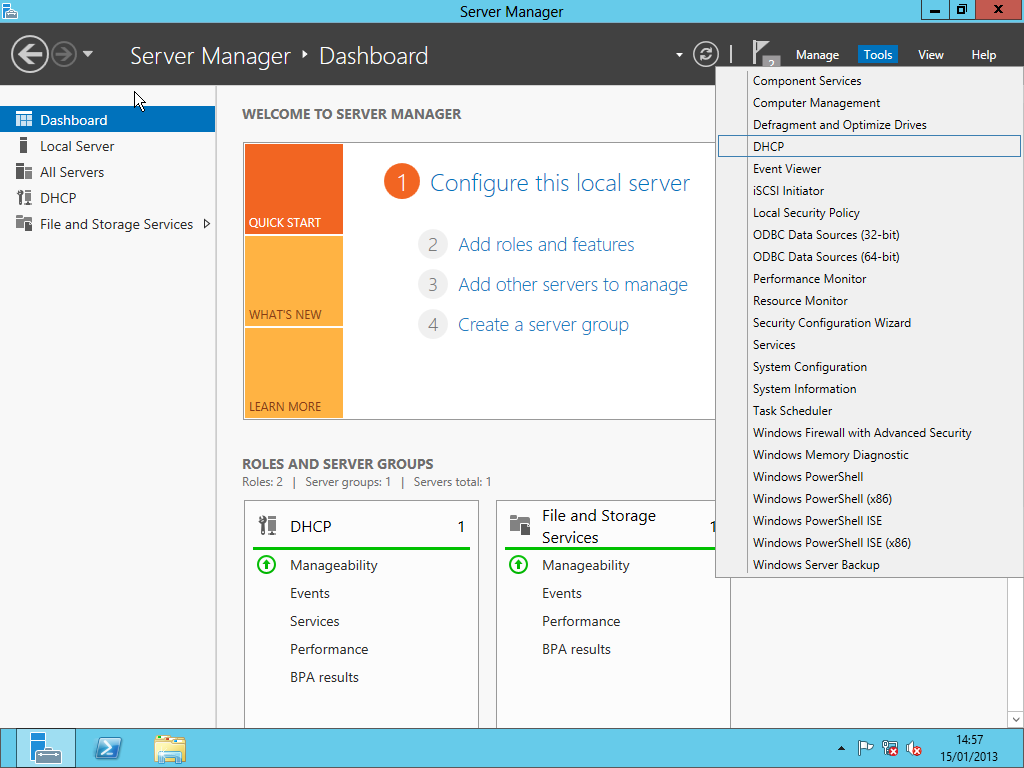
Windows Server 2012
- Server Manager
- Add roles and features
- Next
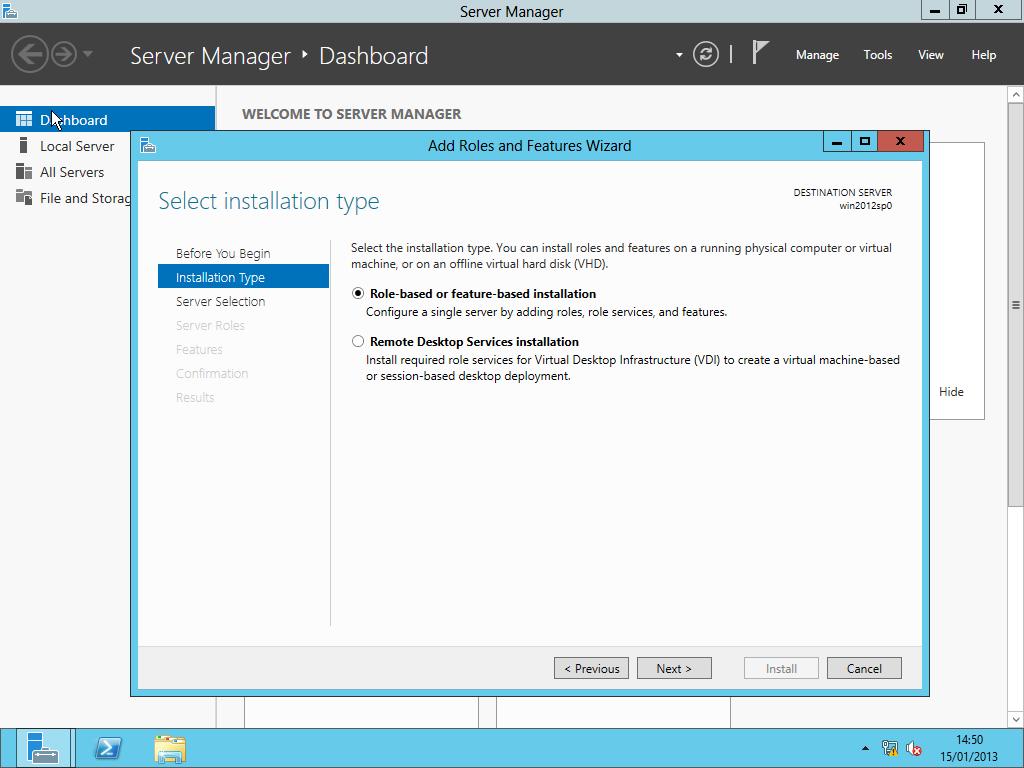
- Select: 'Role-based or feature-based installation' --> Next
- Select: 'Select a server from the server pool' --> Select server --> Next --> Next
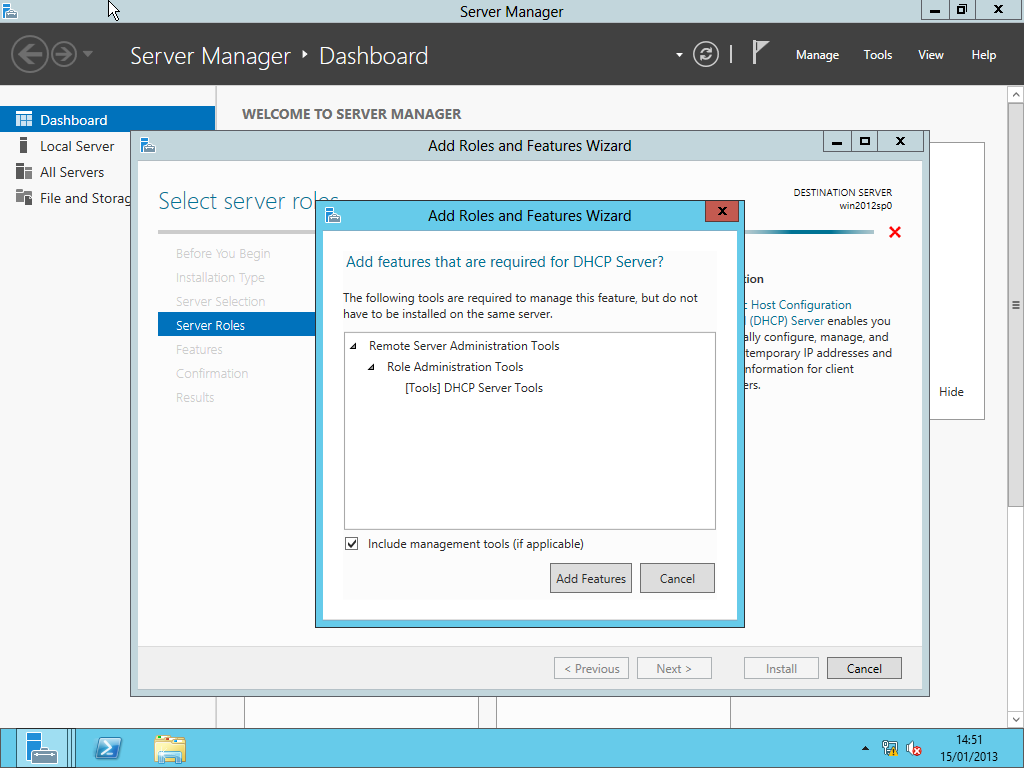
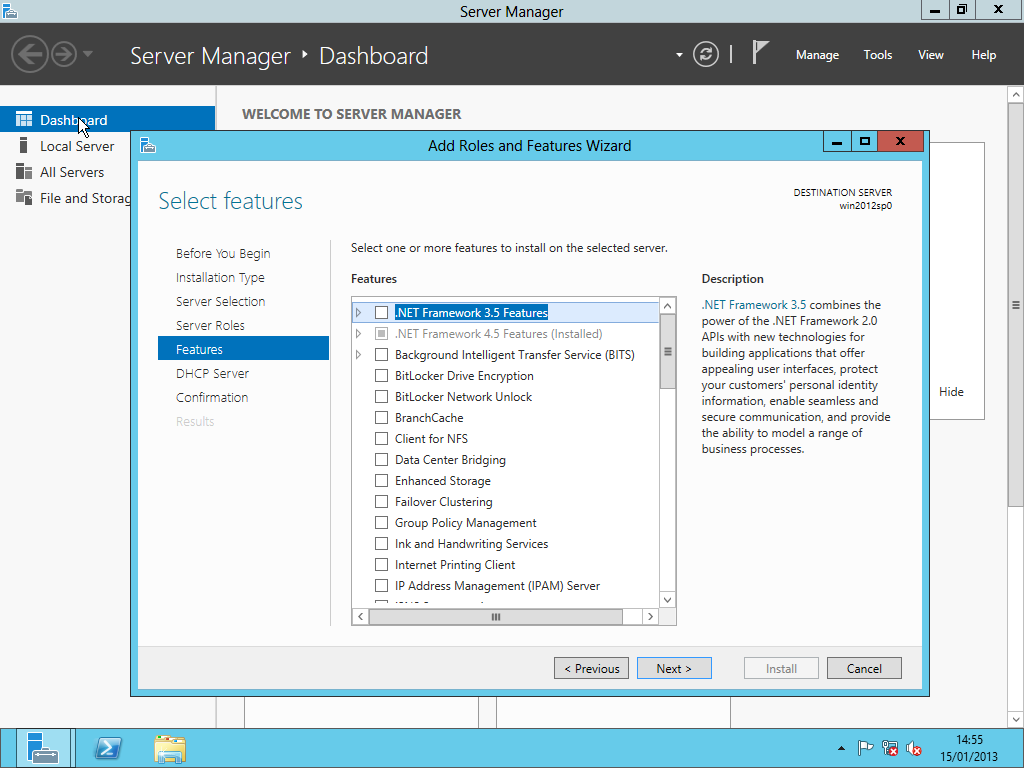
- Add Features
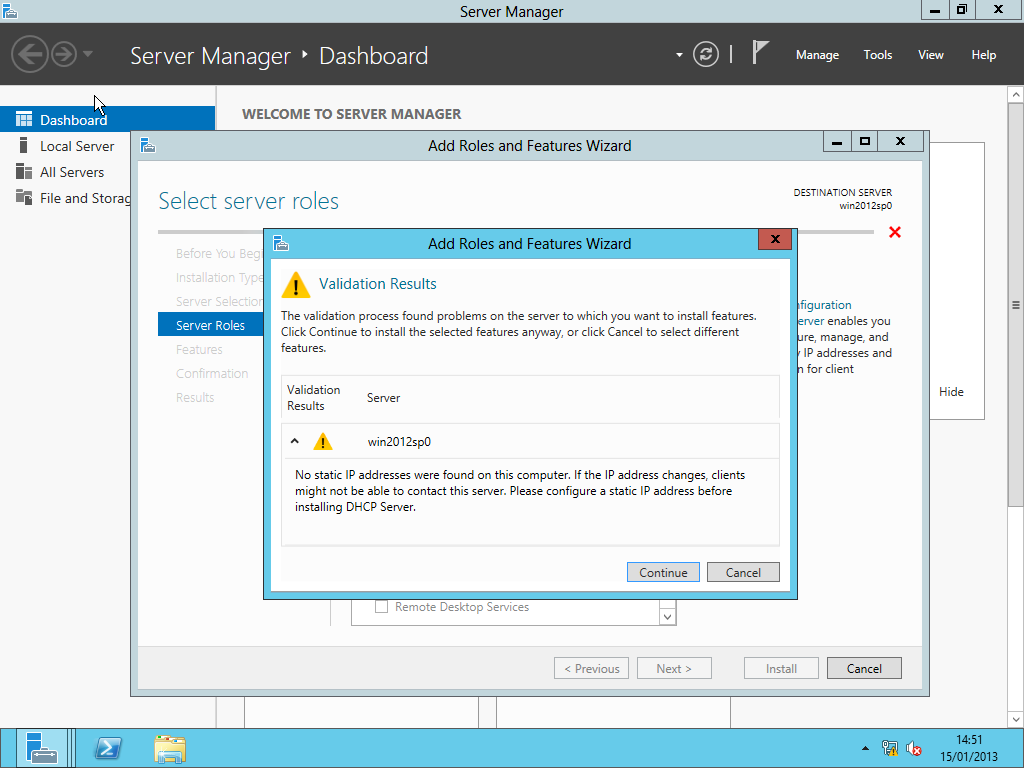
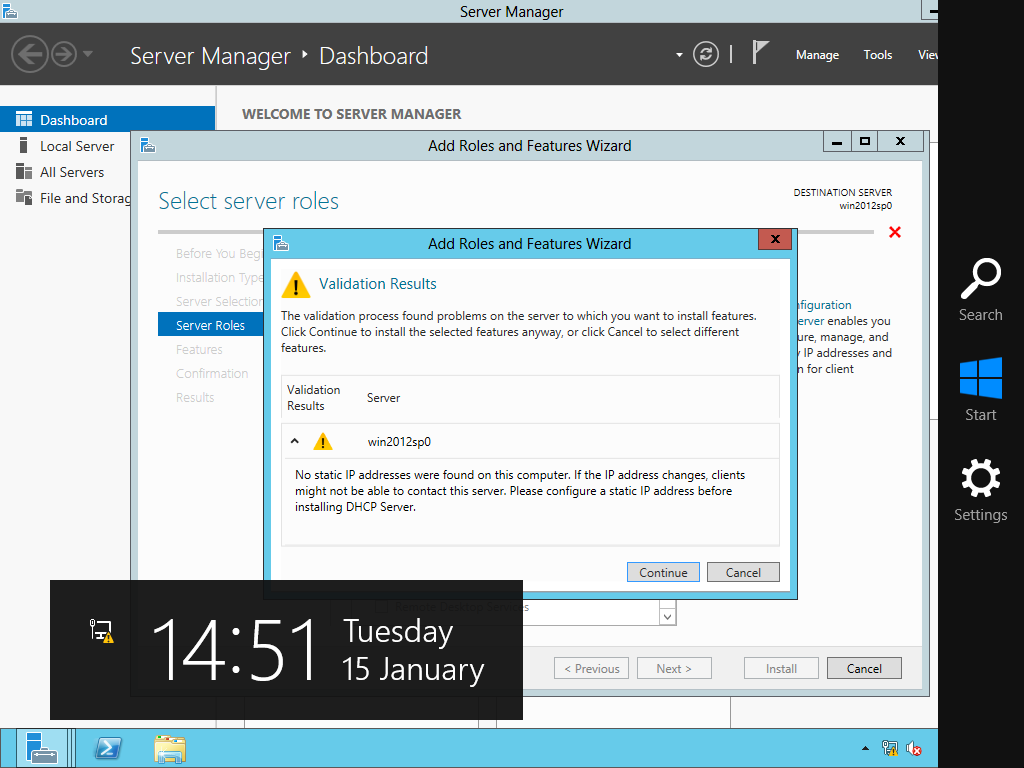
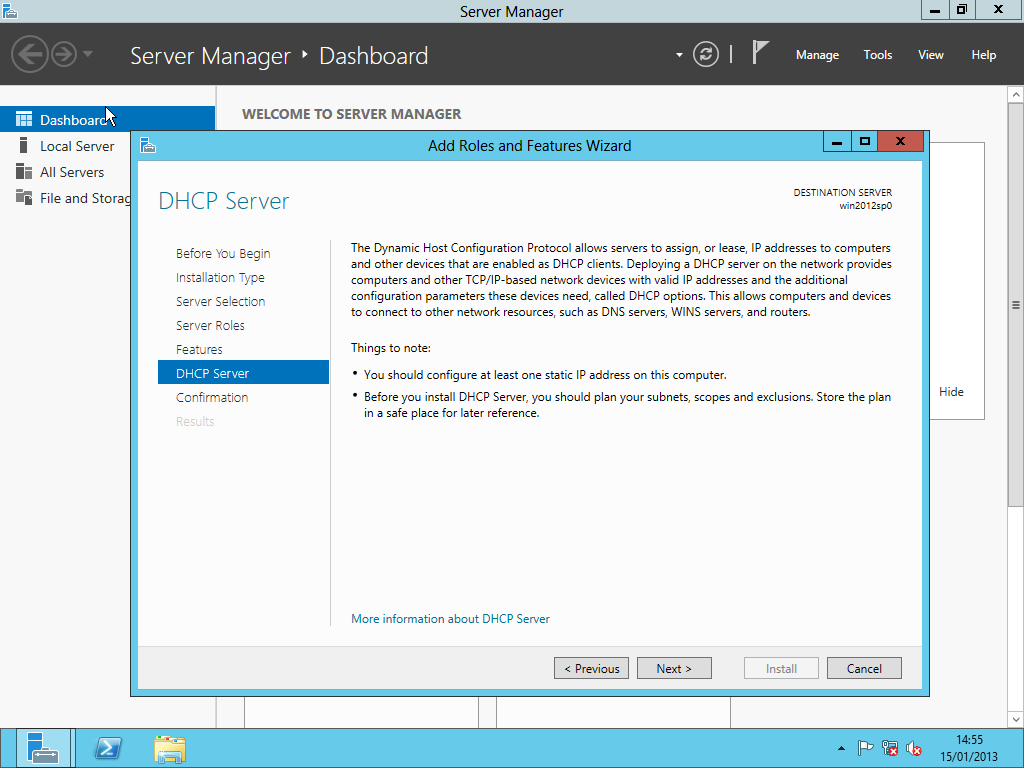
- This screen is due to all the network interfaces being set to use DHCP to be assigned an IP address. Cancel
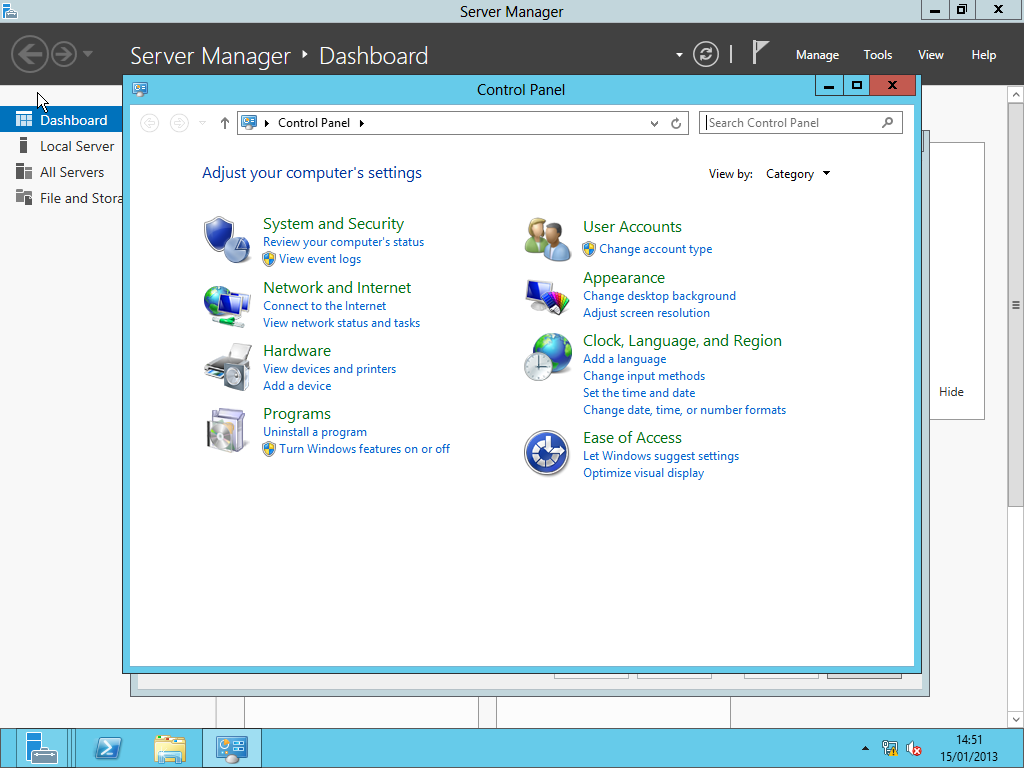
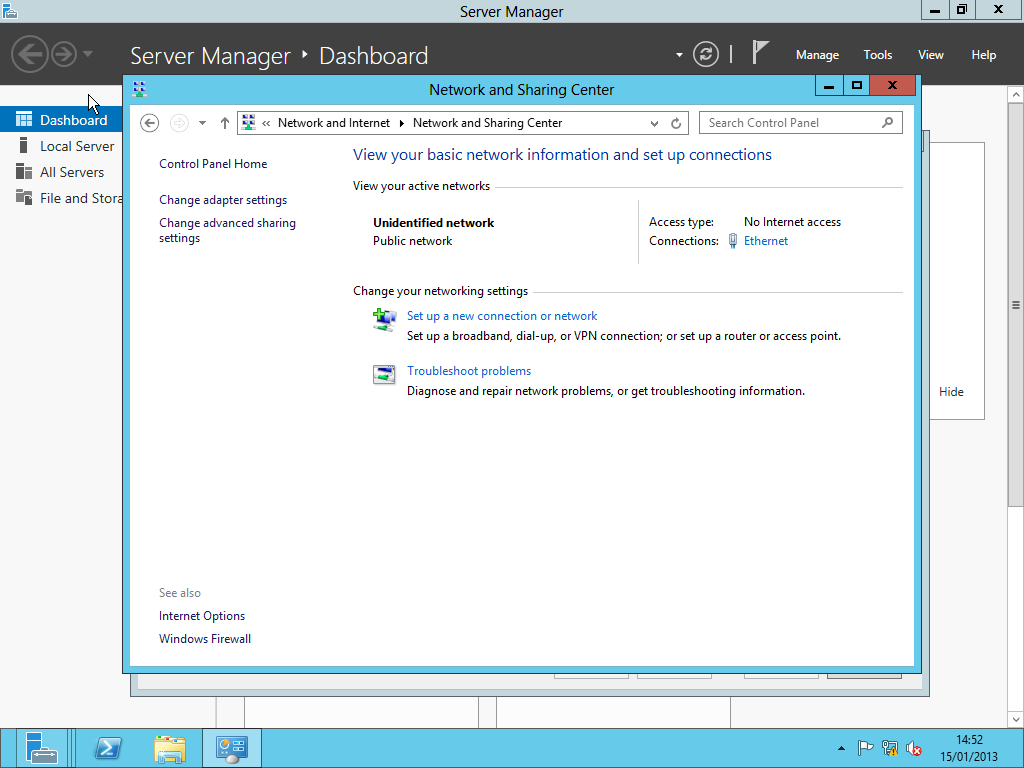
- Start --> Control Panel --> View network status and tasks --> Change adapter settings
- <Interface> --> Right click: 'Properties'
- Internet Protocol (TCP/IP) --> Properties
- Manually set the IP address & subnet (172.16.128.1/24) --> Ok --> Ok
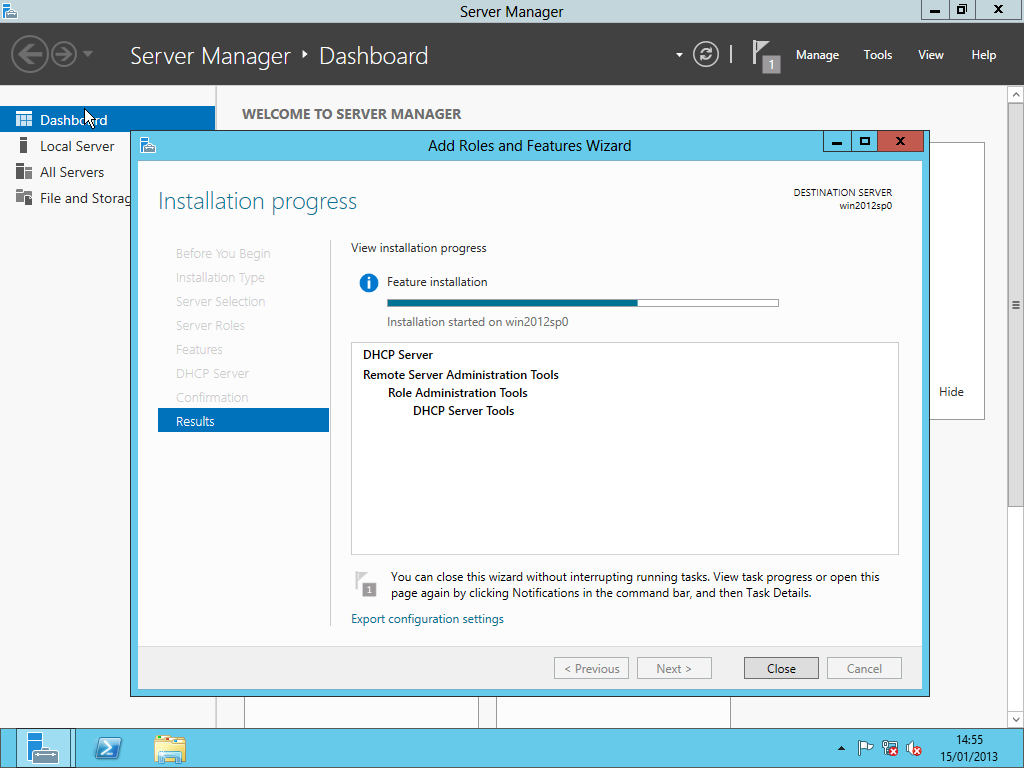
- Next --> Next --> Install
- Wait
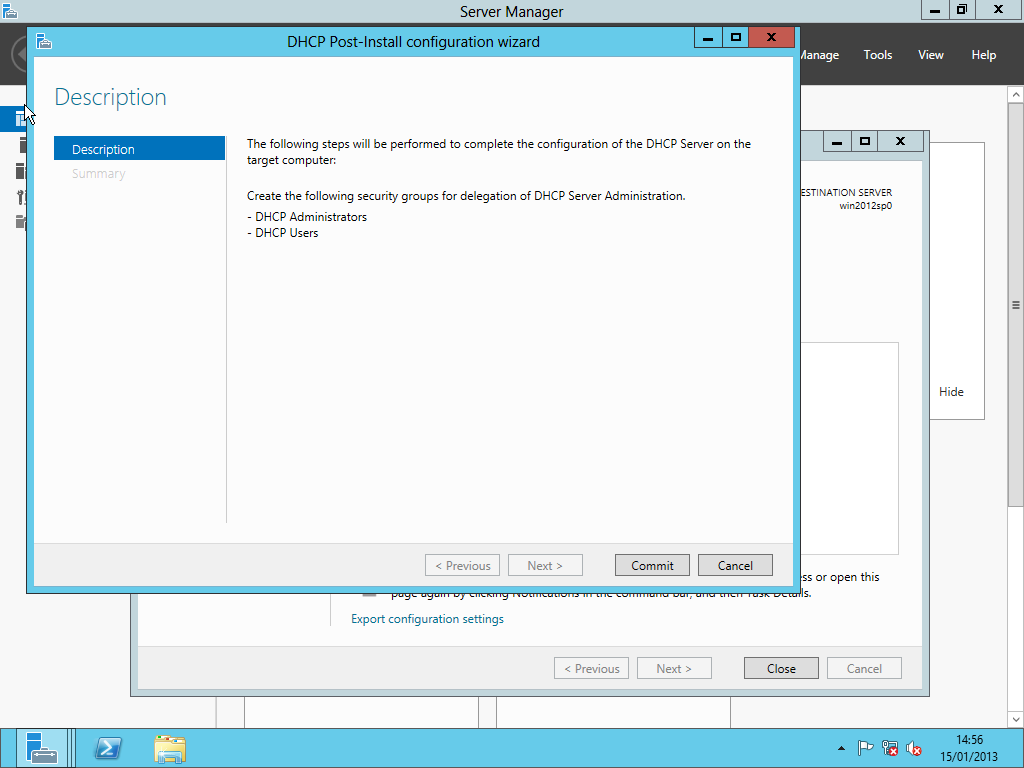
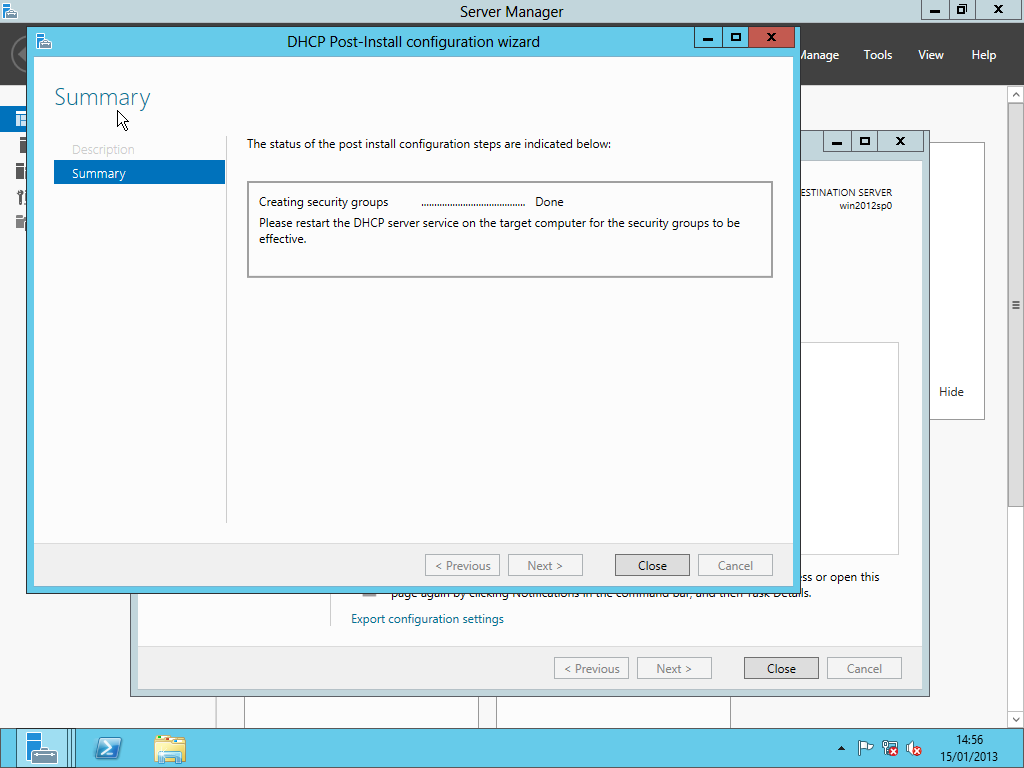
- Complete DHCP configuration --> Commit-> Close
- Close
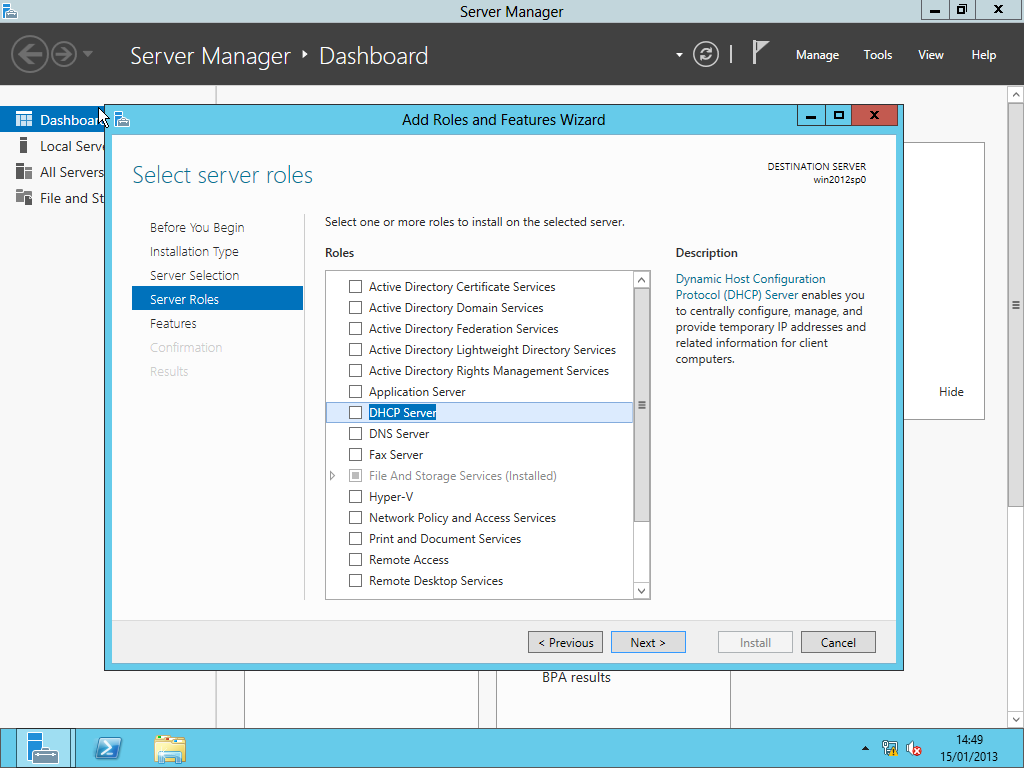
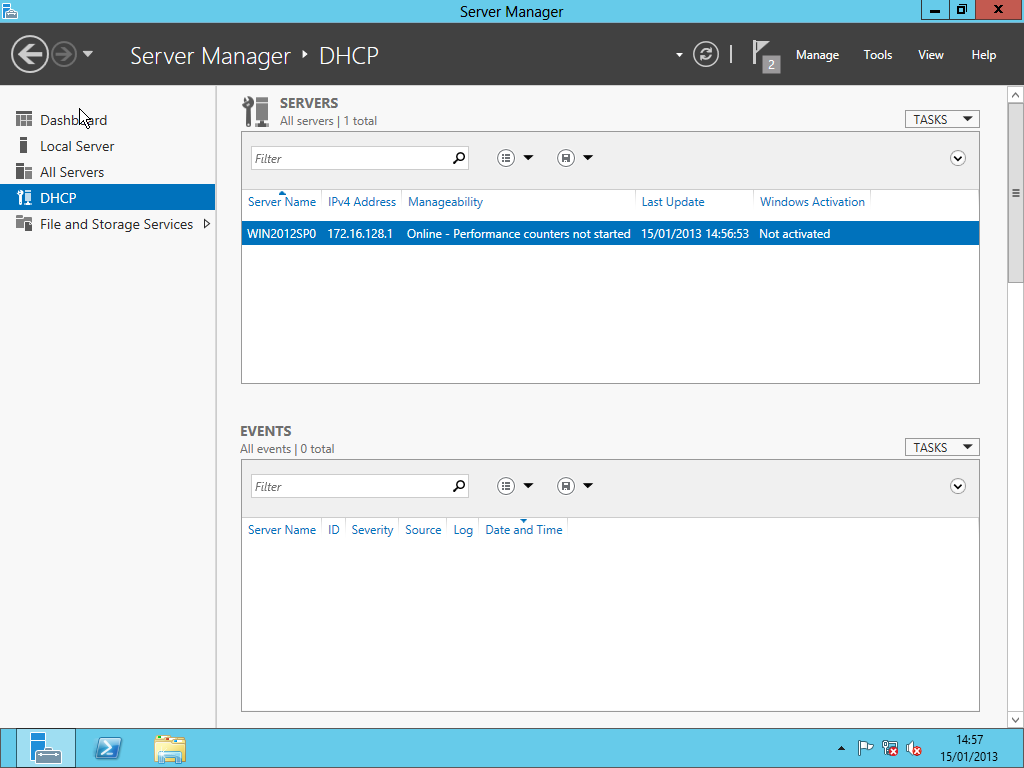
- Tools --> DHCP
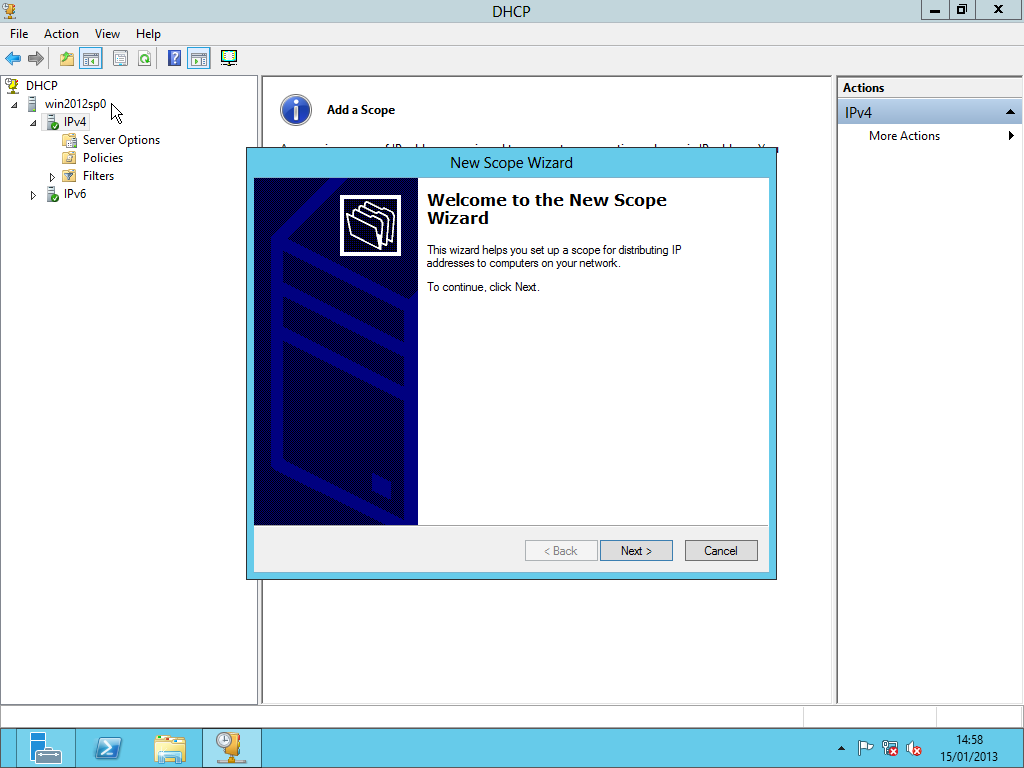
- Right click: 'IPv4' --> New Scope
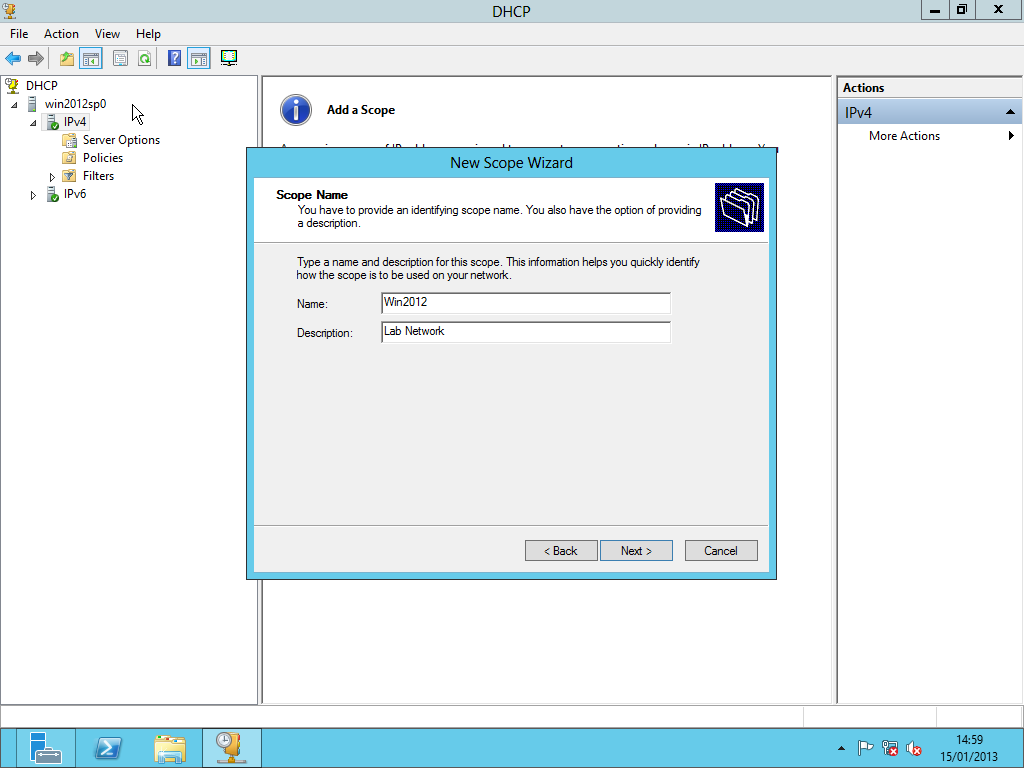
- Next --> Name & Description --> Next
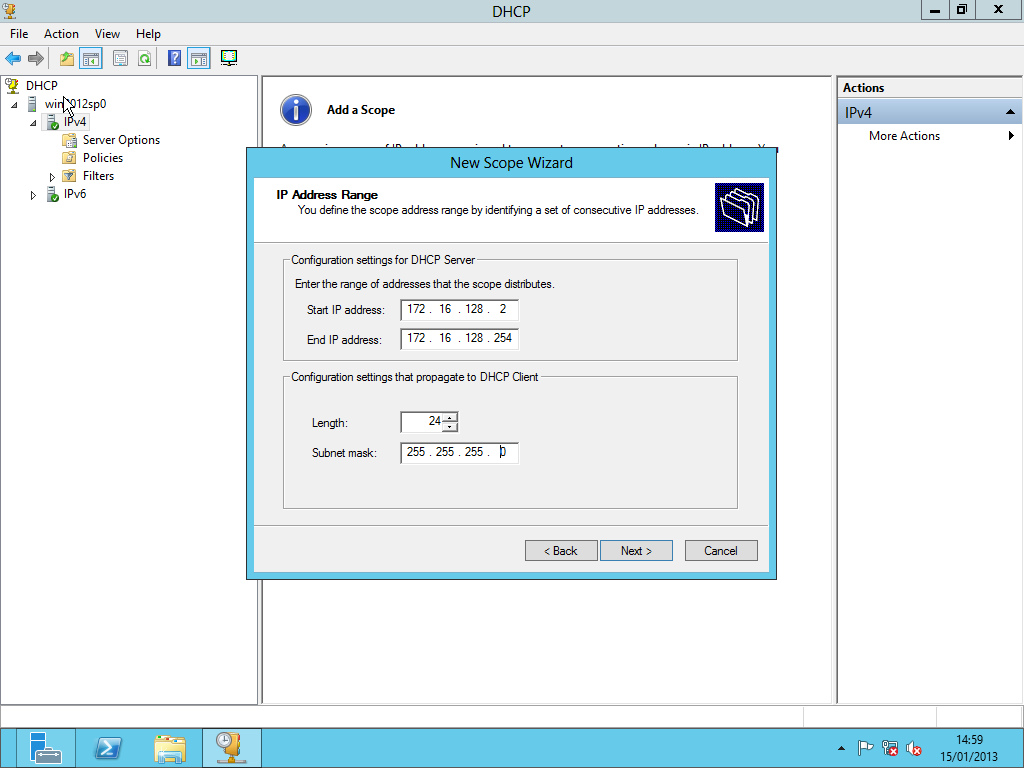
- Start & End IP Address, Length/Subnet mask --> Next
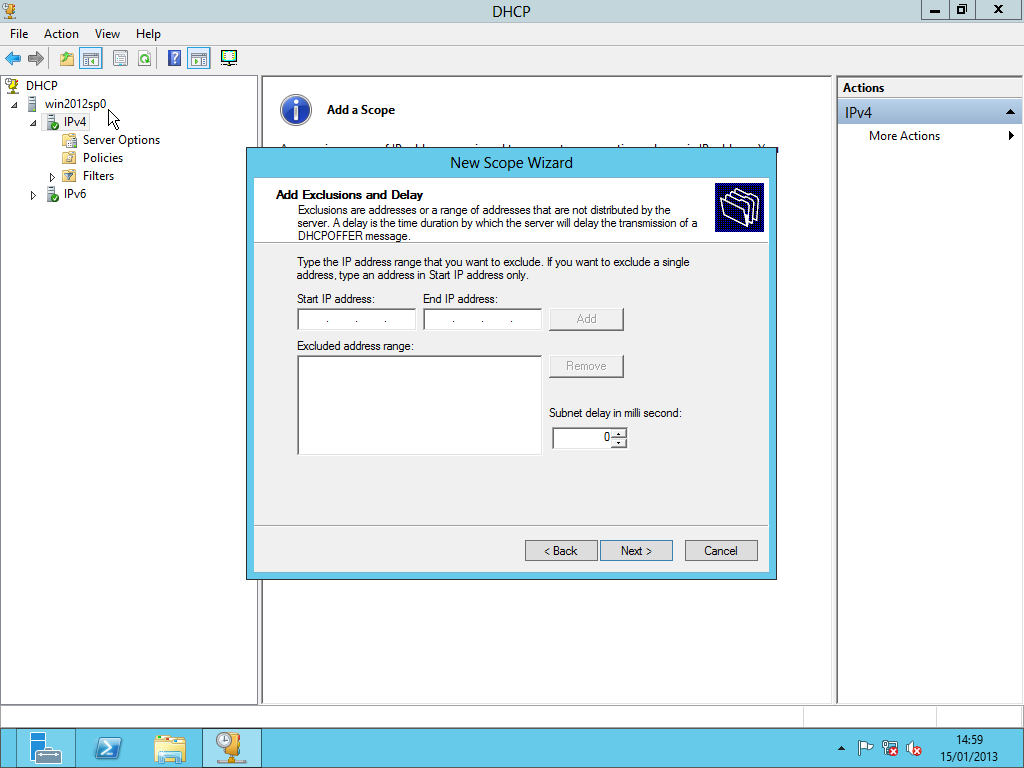
- Any IP Exclusions --> Next
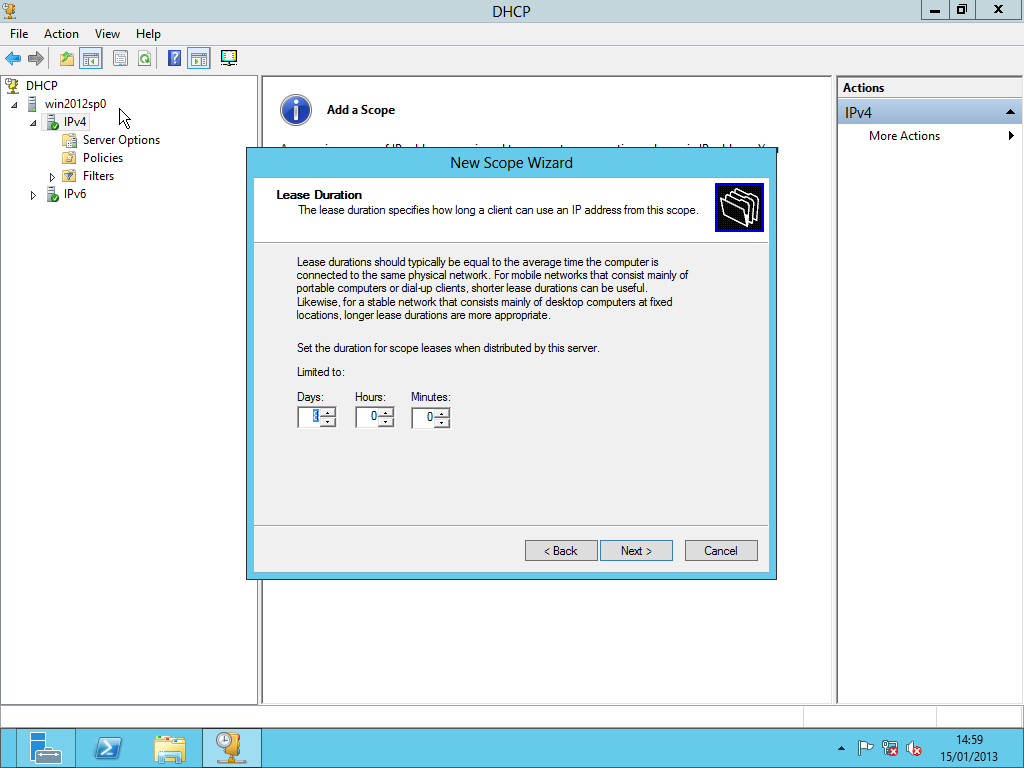
- DHCP Lease duration --> Next
- Select 'Yes, I want to configure these options now' --> Next
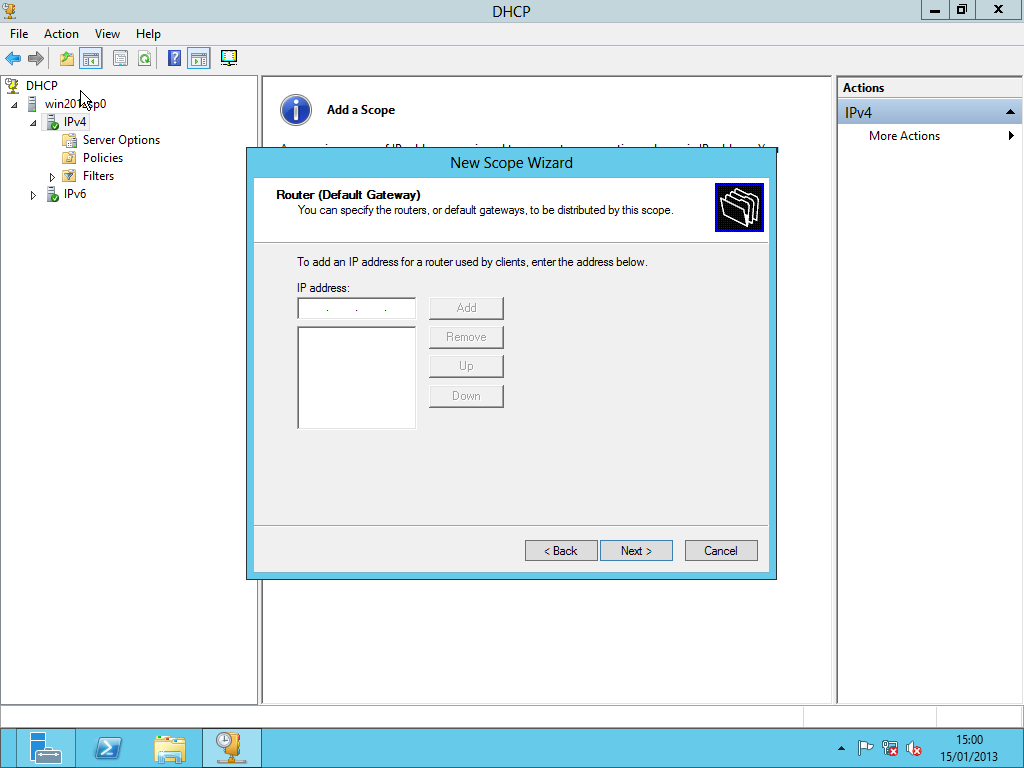
- Router --> Next
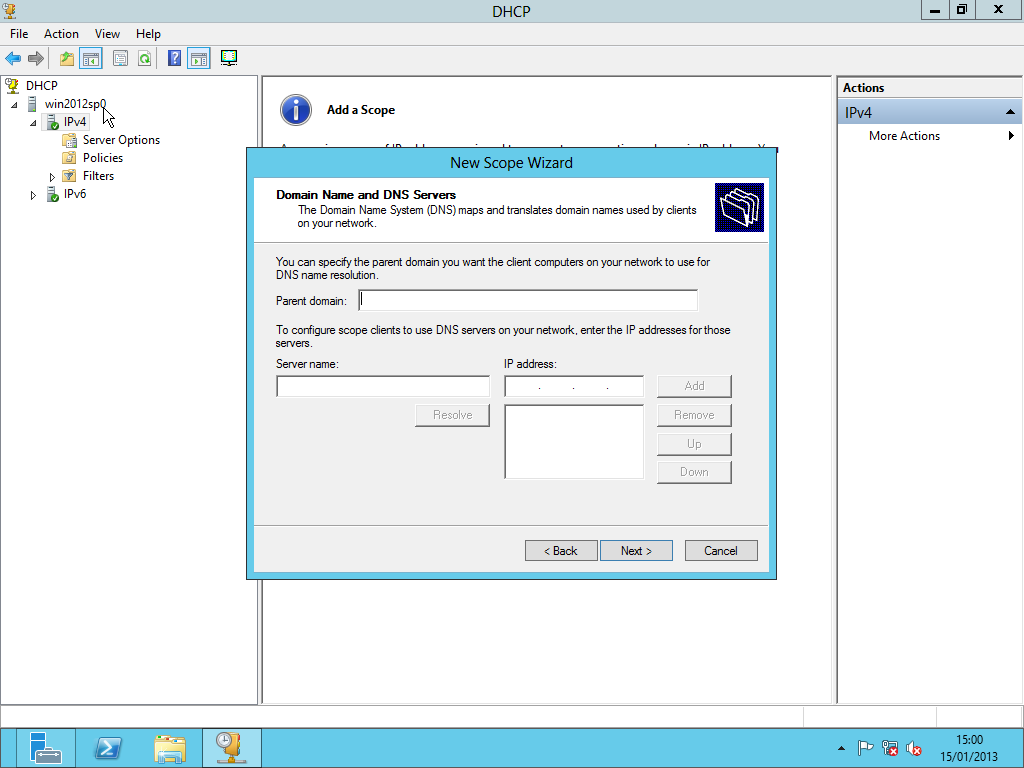
- Domain Name & DNS Server --> Next
- WINS Server --> Next
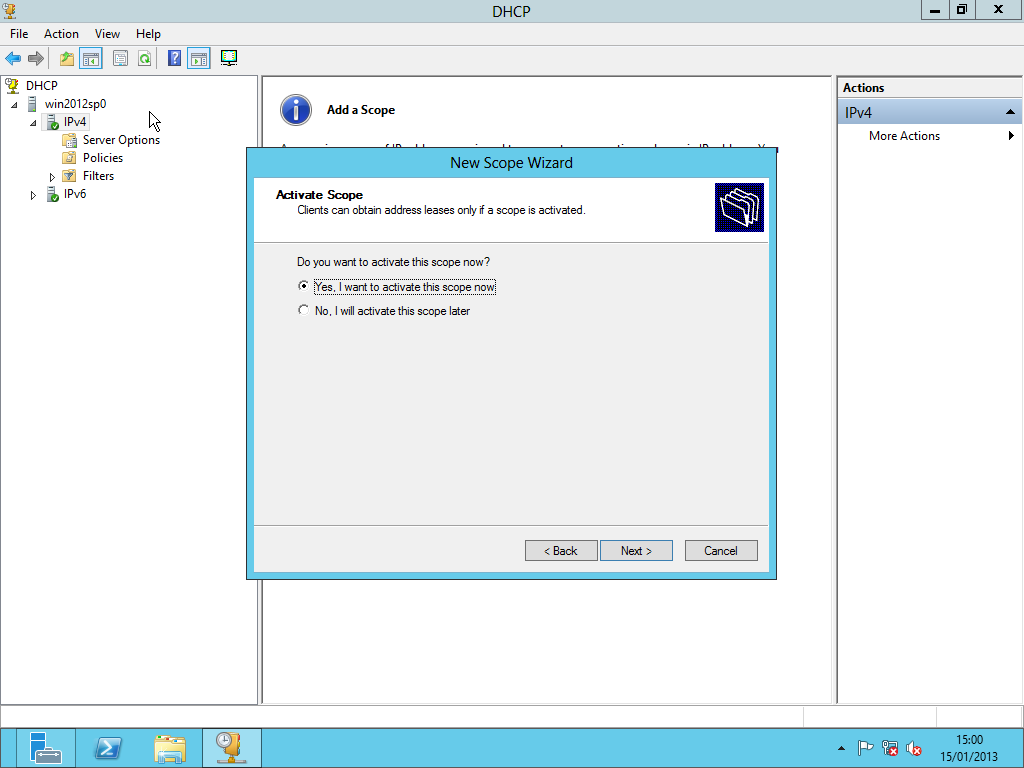
- Select: 'Yes, I want to active this scope now' --> Next
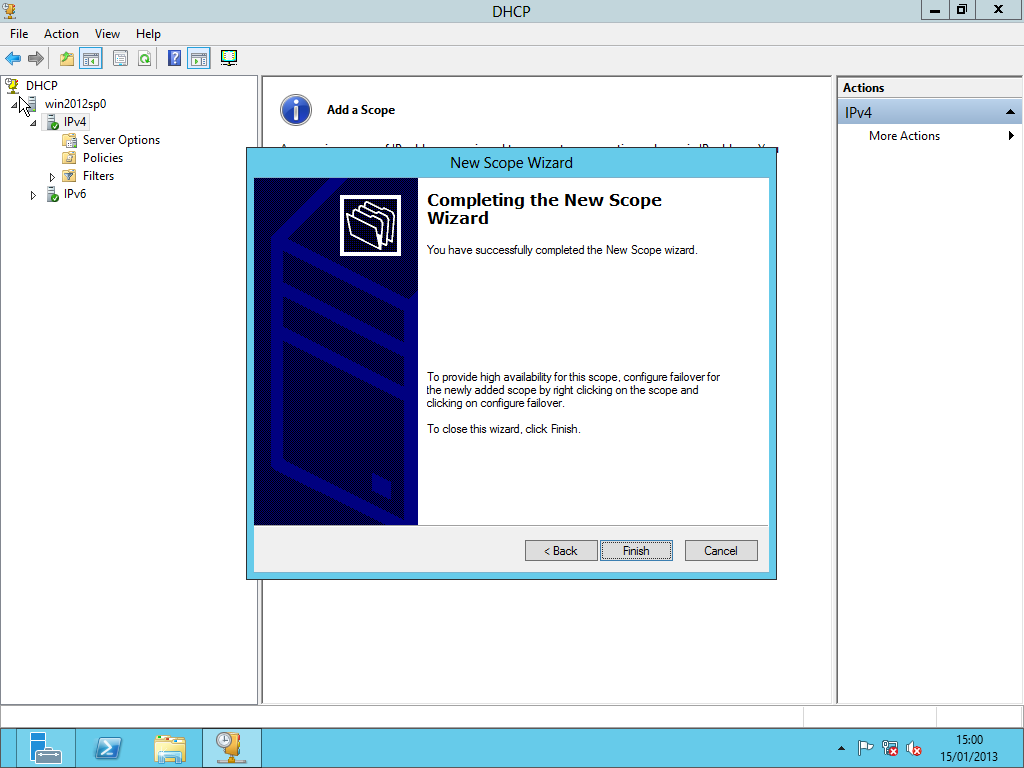
- Finish
- Done! (Check by connecting another VM on the same virtual network)
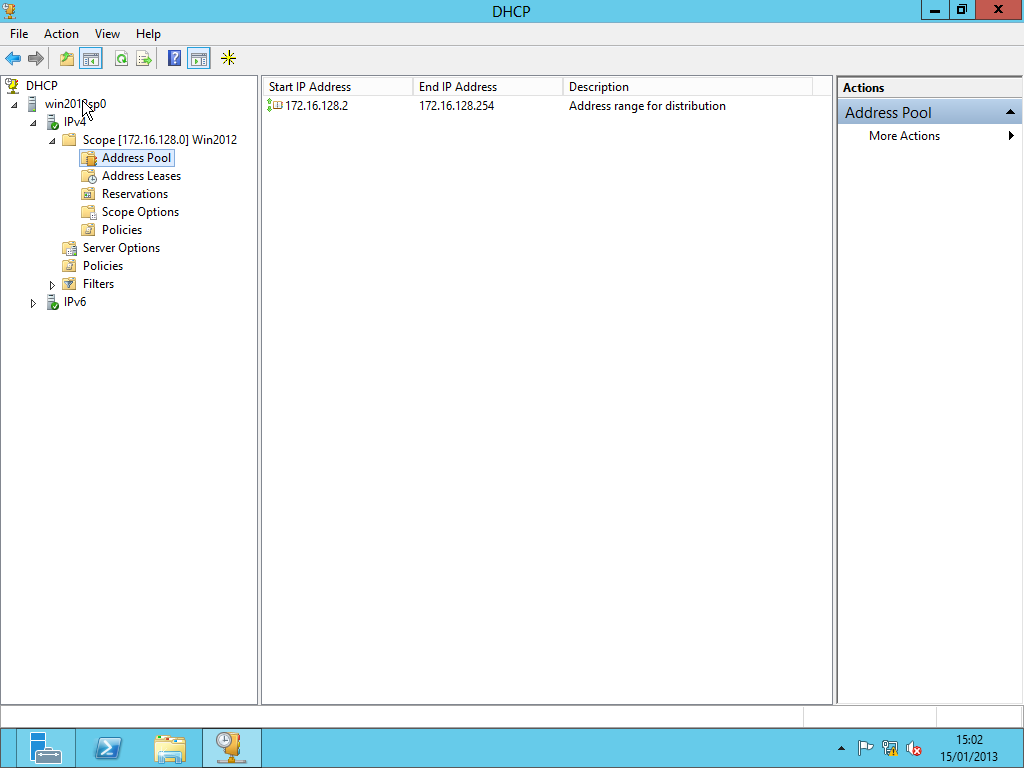
- You can see the leases & Alter any reservations on IPs
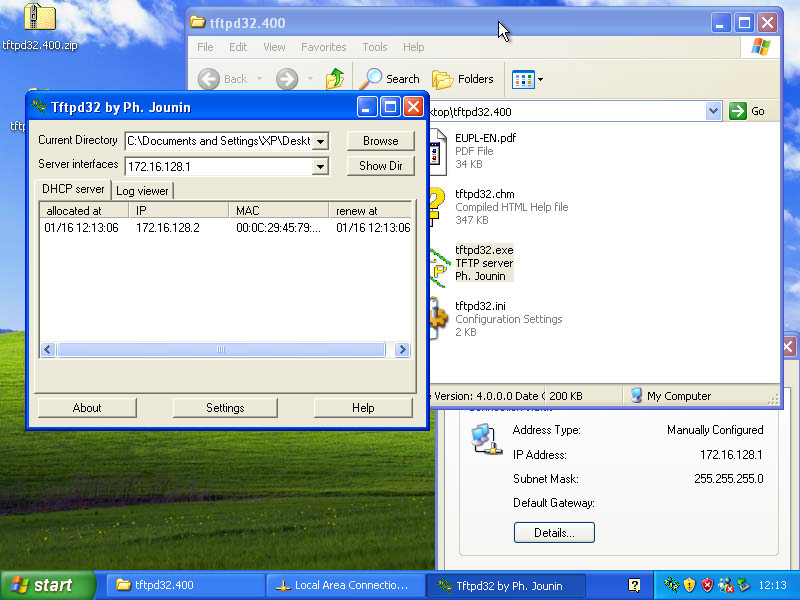
tftpd32
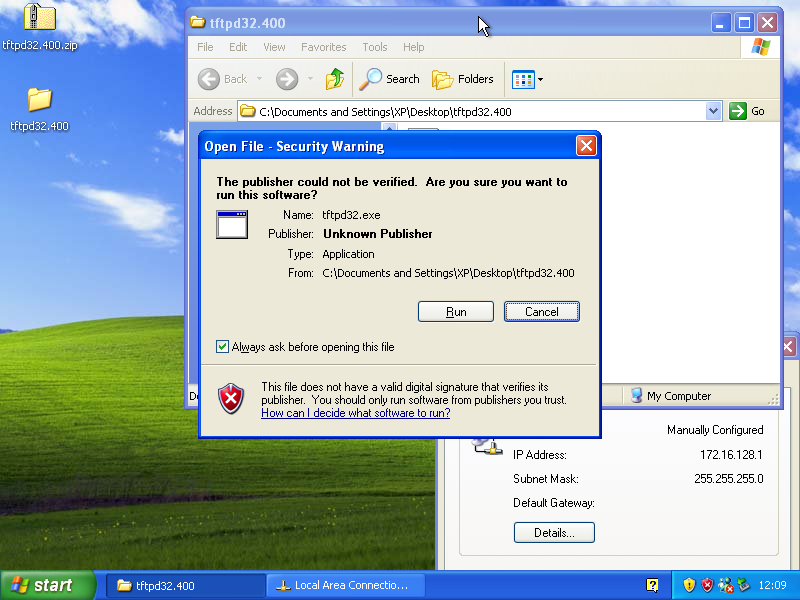
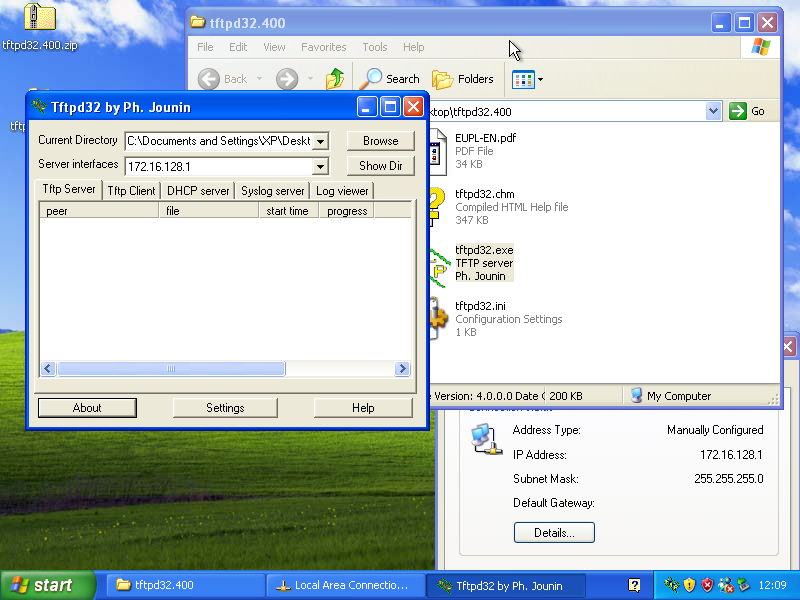
- Download and extract (Download page)
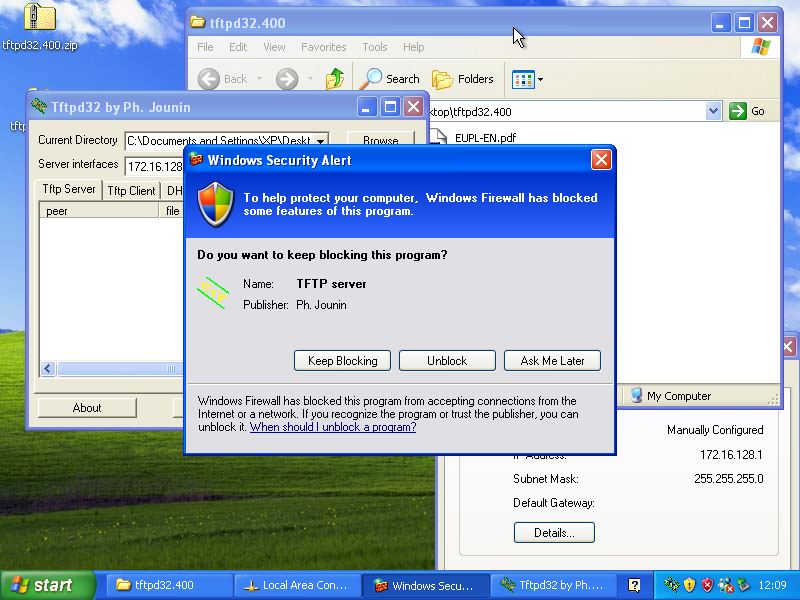
- If prompted 'Unblock' to allow through the firewall
- Settings --> Tick: 'DHCP Server' (Disable all other un-wanted services)
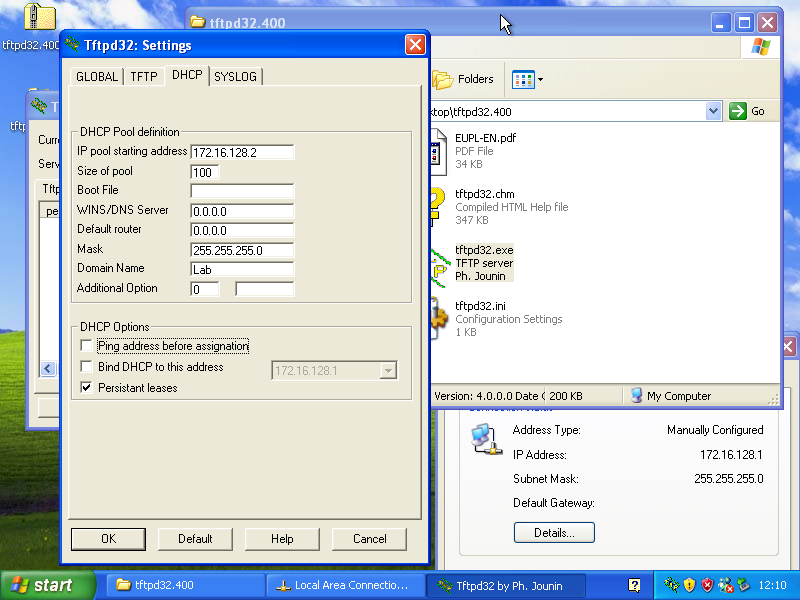
- DHCP --> IP pool starting address, Size of pool, Mask, Domain name
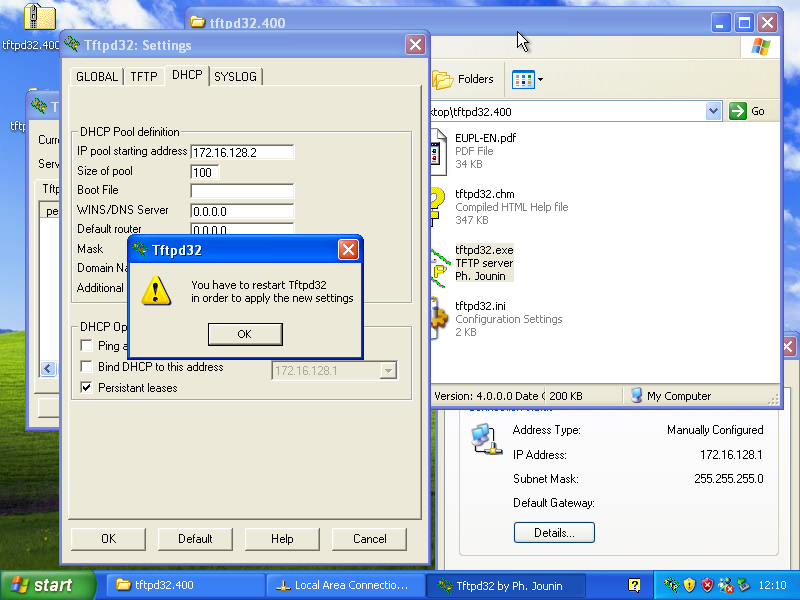
- Ok --> And close & reopen TFTP32
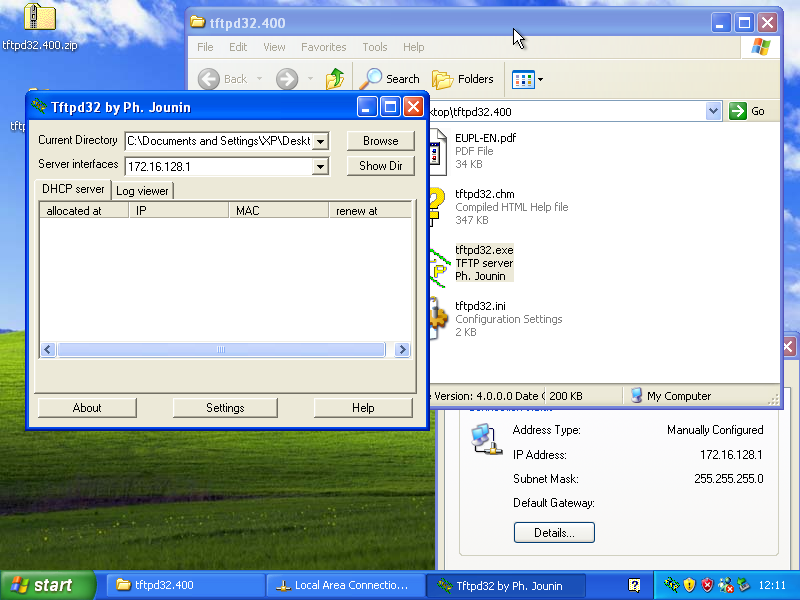
- Done! (Check by connecting another VM on the same virtual network)
- You can see a log of the leases
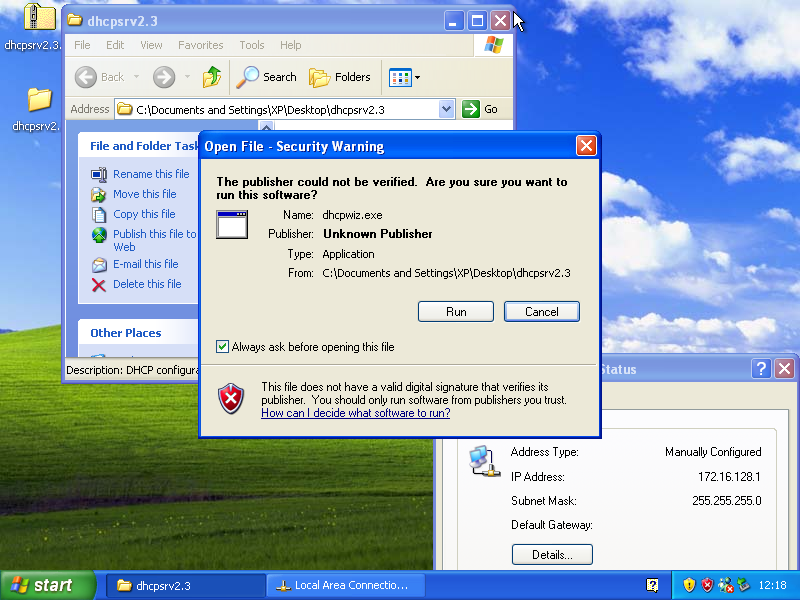
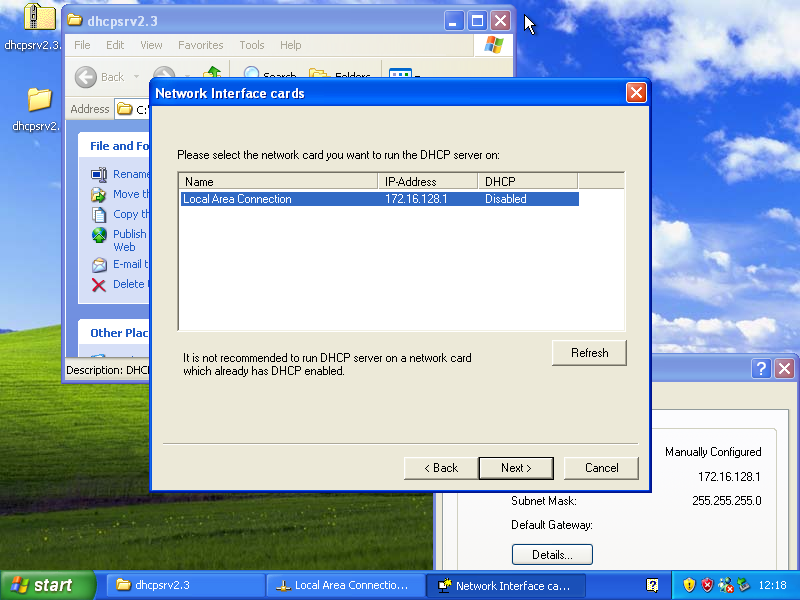
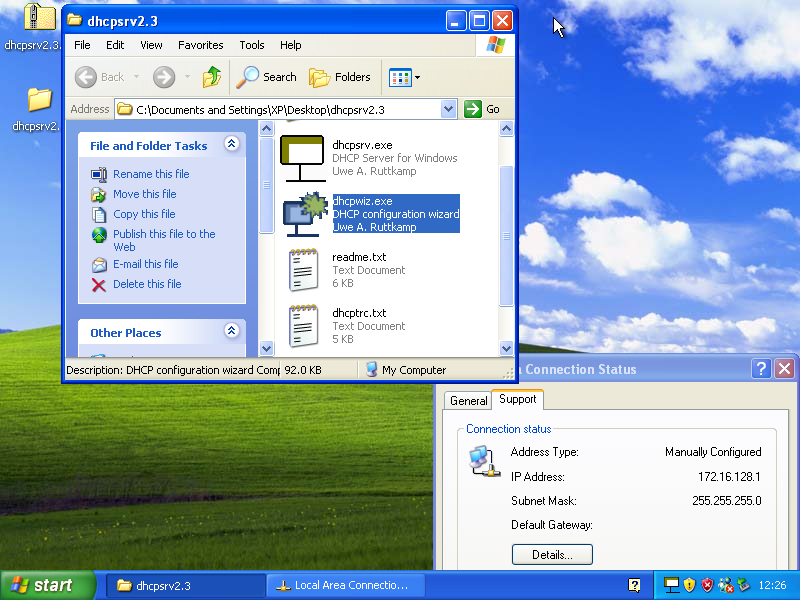
dhcpsrv
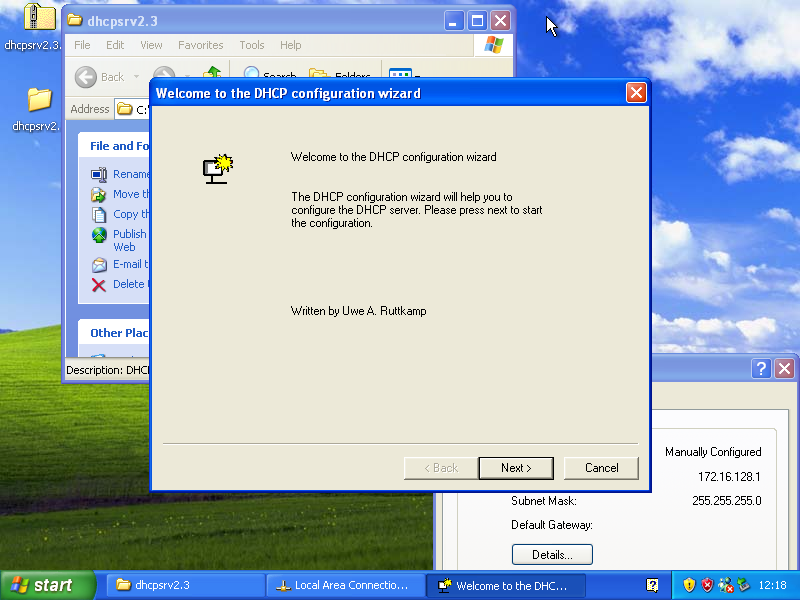
- Download and extract (Download page)
- Next --> <Interface> --> Next -->
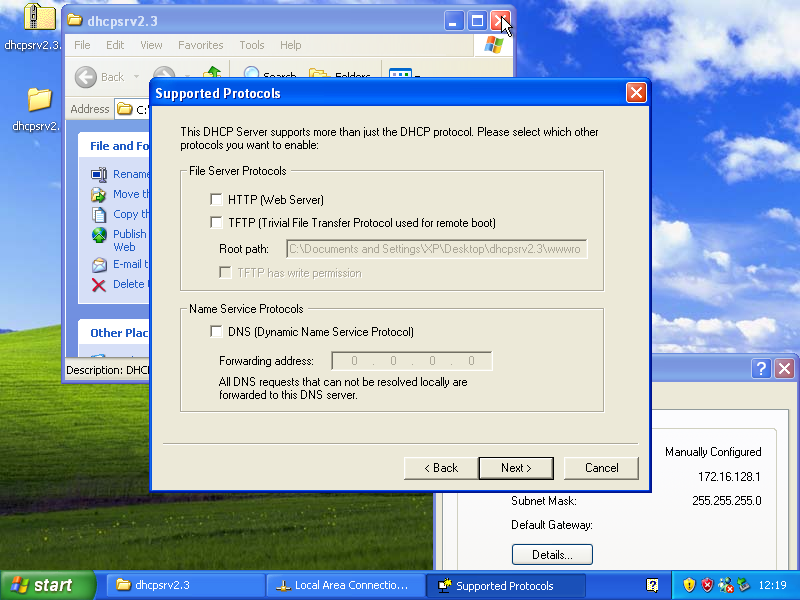
- Enable any other wanted services --> Next
- Configure size of DHCP Pool & Lease
- DHCP Options --> Domain Name --> Ok
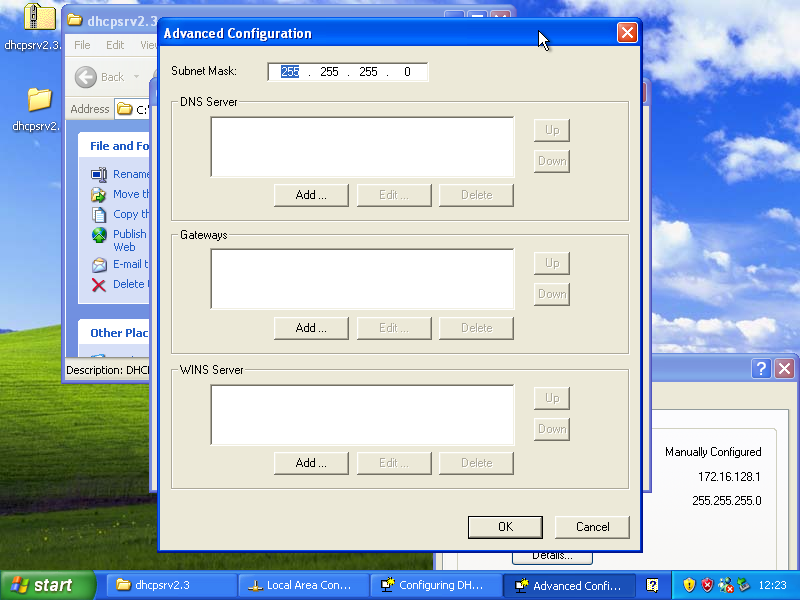
- Advanced --> Subnetmask --> Ok
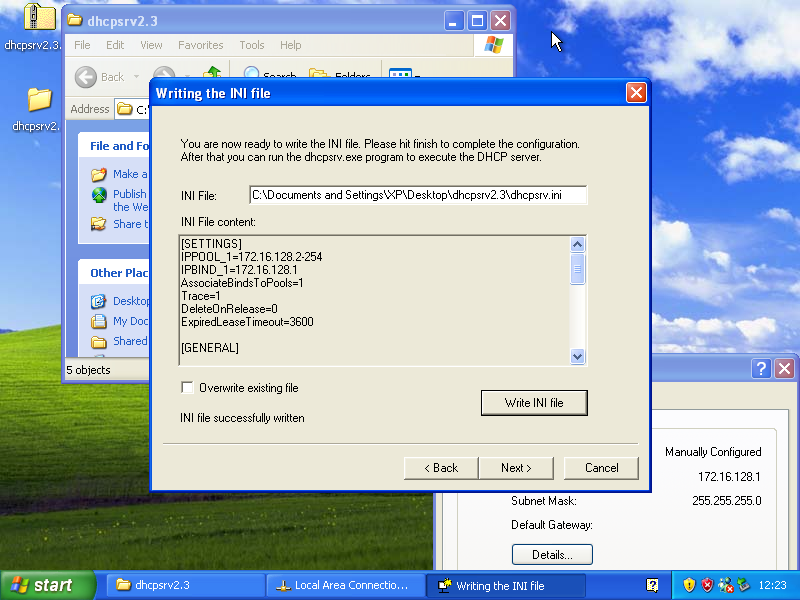
- Write INI --> Next
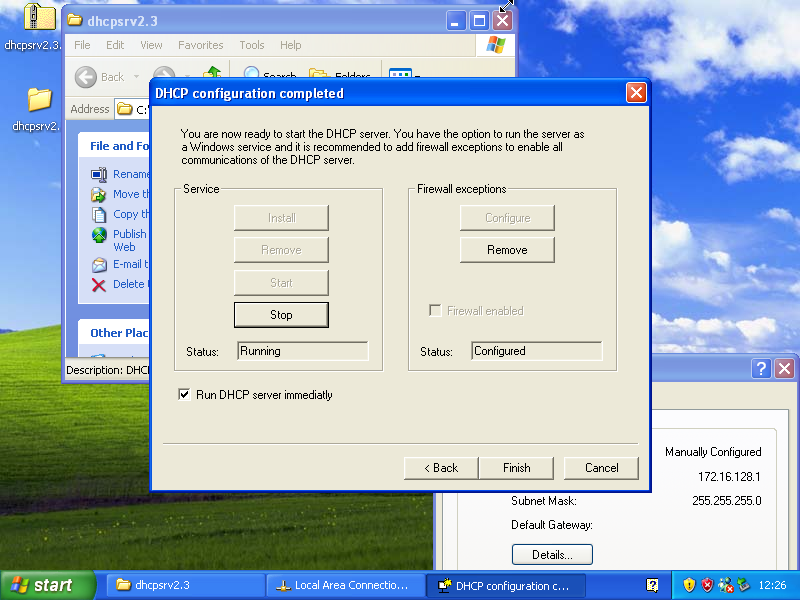
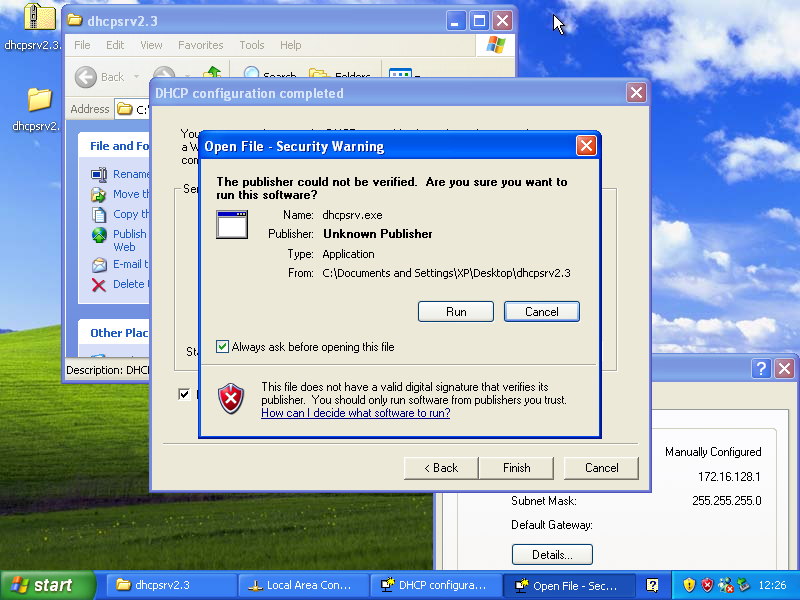
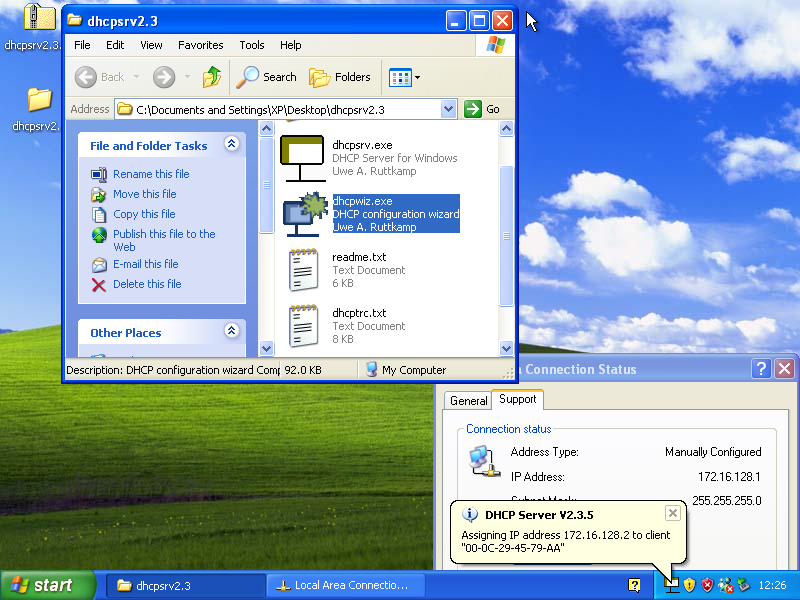
- Services --> Install --> Start. Firewall --> Configure. Tick: 'Run DHCP server immediately' --> Finish
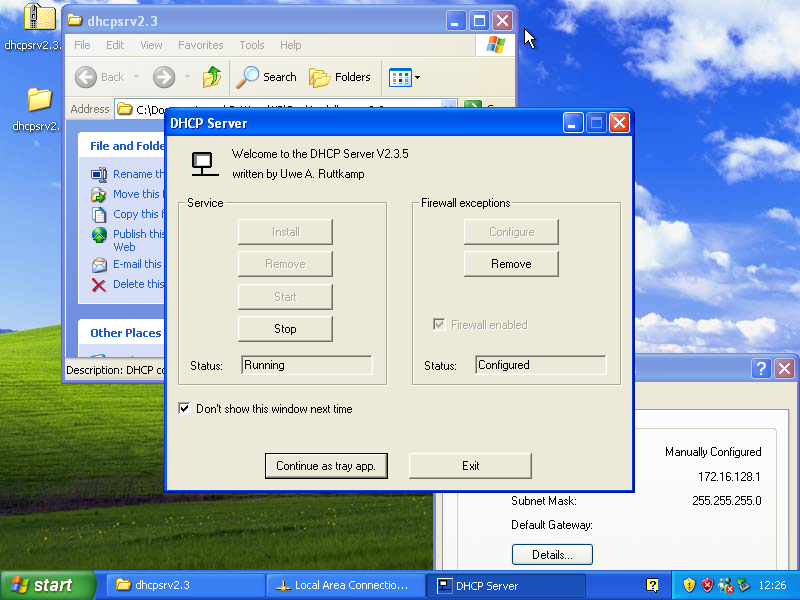
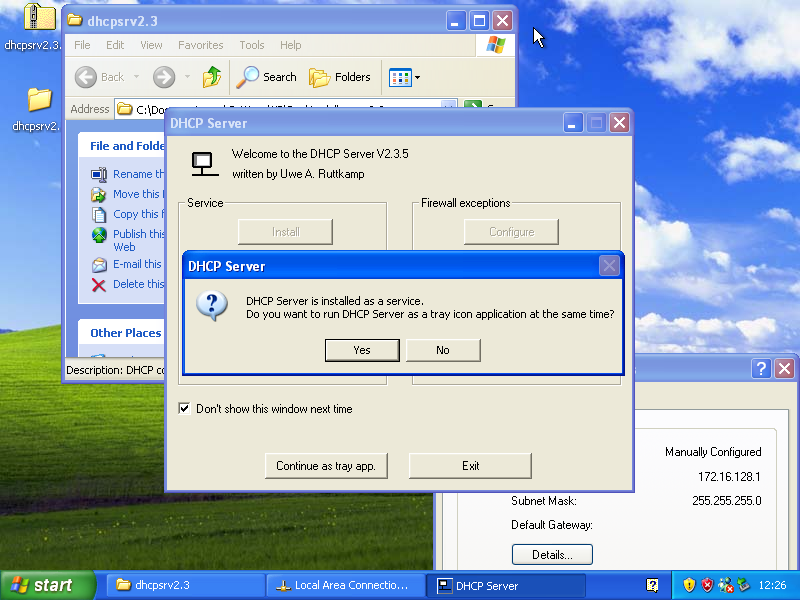
- Check settings --> Continue as tray app
- Yes
- Done! (Check by connecting another VM on the same virtual network)
Linux
Linux also has various DHCP server solutions. It is very common to have at least one DHCP daemon in the OS's repositories, which is a very easy way install applications.
Depending on the package manager installed
(by default: debian uses "Advanced Packaging Tool (APT)" & Red hat uses "Yellowdog Updater Modified (YUM)") you have to alter the commands slightly and the packages name.
Below is the commands used to install a DHCP service on Ubuntu 12.10 & CentOS 6.1:
- apt-cache search dhcp-server (Or 'yum search dhcp')
- sudo apt-get install isc-dhcp-server (Or 'sudo yum install dhcp')
- sudo cp /etc/dhcp/dhcpd.conf{,.bak}
- sudo vi /etc/dhcp/dhcpd.conf
ddns-update-style none;

  option domain-name "lab";
  #option domain-name-servers 172.16.128.1;
  #option routers 172.16.128.1;

  default-lease-time 600;
  max-lease-time 7200;

  authoritative;

  log-facility local7;

  subnet 172.16.128.0 netmask 255.255.255.0 {
  range 172.16.128.2 172.16.128.254;
  }
- sudo cp /etc/network/interfaces{,.bak}
- sudo vi /etc/network/interfaces
- sudo service isc-dhcp-server restart (Or 'sudo service dhcpd-server restart')
- Done! (Check by connecting another VM on the same virtual network)